Welcome

Live steam model on 7¼" gauge of the Württembergische T3 no 924

Welcome to this blog. It will inform you about the progress of designing and building live steam model locomotives. The blog contains the description of a model Würrtembergische T3 on 7¼" gauge (built between 2006 and 2017), the wagons for this loco (built between 2018 and 2022)  and a 5" gauge model of a Great Eastern Railway Y14 class loco (started in 2020)

On the left you'll find the index where you can browse through the different articles and on the right you'll find all the extra's. On the top tabs you'll find a brief description of my other locos.


Click for the direct link to start of construction series below 
T3 7¼" steam locomotive 
 
Enjoy this site. Erik-Jan Stroetinga. The Netherlands. Europe.


Wednesday 20 January 2021

Bier-Kühlwagen finishing brakemans cabin (6)

The completing of the brakeman cabin consists of finishing doors, making the  brakeman's seat and brake lever. the window frames and roof.  Below some photos to show the progress. 


For drilling a round hole in thin sheet metal, a piece of cloth or emery cloth between the drill point and the plate works wonders. This will 'fill' the  clearance angle of the drill and this will prevent the otherwise triangular shaped holes.  (A special plate drill works also; but I don't have these)


The Gressel bender in use for making the door handles. 


The parts for the door handle before silver soldering


A small hole in the stone and a parallel clamp are sufficient for a setup for soldering.


Something different:  milling oak.  This will be the wood for the seat.


No cnc milling or laser cutting, but chain drilling and a chisel, for making a square hole in the seat support frame. 


With a file this is method is still a quick way of making these parts.

The seat frame

The complete foldable seat in the cabin. It is a similar construction as on the Omk open goods wagon. 

The brake lever ready for silver soldering the handle.


A back plate is the support for the seat and brake lever. This makes it possible to remove the complete cabin  (for transport the wagon in the car)

Cladding the doors with wood

A construction glue is all that is needed. 

The window frames are of hard wood. These fine wooden slats are available in a model store and are usually used for ship building.

The window frames on the front and rear. 

The roof is build up.


Small profiles are filed to shape. 


The roof is cladded with 1.8 mm plywood, which also comes from the model shop, and is normally used for making aeroplanes.


Small beading under the roof is glued in position. 


 The final detail are rounded heads of the bolts that fix on the real full size wagon the planks to the iron frame.  


Monday 4 January 2021

Bier-Kühlwagen steps and cabin doors (5)

Finally an update again on the beer wagon. Not that there was no time for model engineering, but the time was spent on a new project. I started with a new 5" gauge loco; a Great Eastern Railway Y14 class 0-6-0 tender engine. This will be a British model, so I had to make the drawings and order the wheel castings, pressure gauges, injectors and books about this loco from the UK; and have them delivered before Brexit. So time was used in designing in Solidworks and finding useful information about this locomotive.  


The new project GER Y14 class; a dedicated blog will be made later on.  

First sketches in Solidworks.

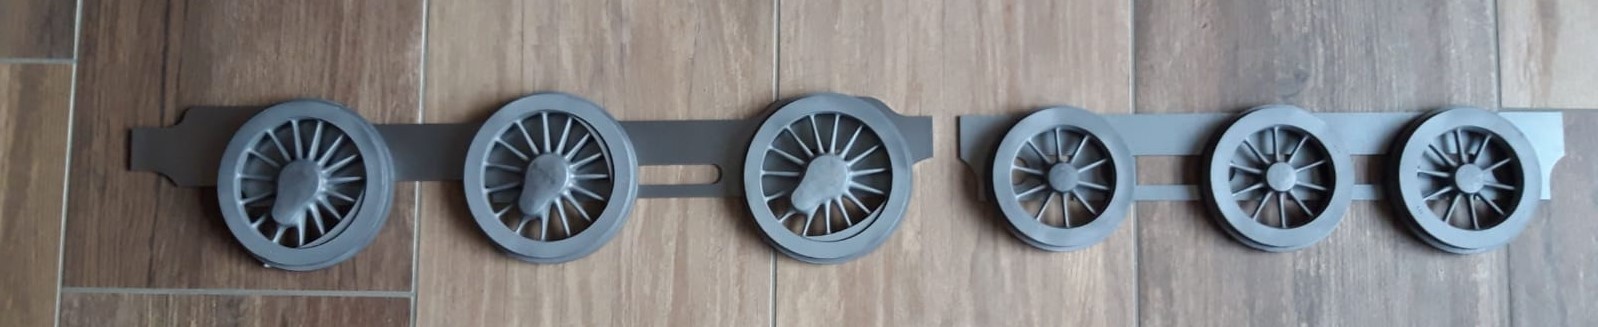
The frames were laser cut in the Netherlands (Laserworx.nl), with buffer beams and buffers, the first impression of the new locomotive. 

Beautiful wheel castings, made to order, by Mark Wood. (http://www.markwoodwheels.co.uk/


All was delivered early December. In time for the Brexit deadline. So now I can continue on finishing the beer wagon. 


Some wooden stops, to hold the brake mans cabin in place. This will be detachable, which is more convenient for transporting and storing the wagon once finished. 

It slides into position from the top.


The buffer beam of the 7¼" wagon, in front of the frame of the new 5" loco. 1½ times bigger!

A supporting angle was needed for the rear plate; the base of the steps to the cabin. 


A twist bend is needed for the side bars of the steps. This was drawn on the full size works drawings, that I have from the brake mans cabin. 


The frame for the steps. 

The steps, bend from 1,25 mm steel plate.

The small support brackets, ready to be chamfered by file

The steps on the rear buffer beam. 


The cabin doors are made of steel also. They are not protected by a railing, so at the end of the model train, they have to be sturdy. A complete wooden door, as on the Omk wagon is maybe not strong enough.  


Small hinges, recycled from a piano hinges. 


Soldering a beading edge to the doors. 


The top of the beading had to be cut  and filed to shape.


 It's made of 0.8 mm thick steel plate. 


Next job; finishing the cabin doors and making the window frames.