Welcome

Live steam model on 7¼" gauge of the Württembergische T3 no 924

Welcome to this blog. It will inform you about the progress of designing and building live steam model locomotives. The blog contains the description of a model Würrtembergische T3 on 7¼" gauge (built between 2006 and 2017), the wagons for this loco (built between 2018 and 2022)  and a 5" gauge model of a Great Eastern Railway Y14 class loco (started in 2020)

On the left you'll find the index where you can browse through the different articles and on the right you'll find all the extra's. On the top tabs you'll find a brief description of my other locos.


Click for the direct link to start of construction series below 
T3 7¼" steam locomotive 
 
Enjoy this site. Erik-Jan Stroetinga. The Netherlands. Europe.


Friday 22 July 2022

Klappdeckelwagen Painting and lettering (lidded wagon) (11)


After the primer, the first coat of RAL 6009 green paint was applied, and the wagon was assembled. 


This first coat of green paint was sanded down for the next coat. The nuts and bolts can then be painted as well.


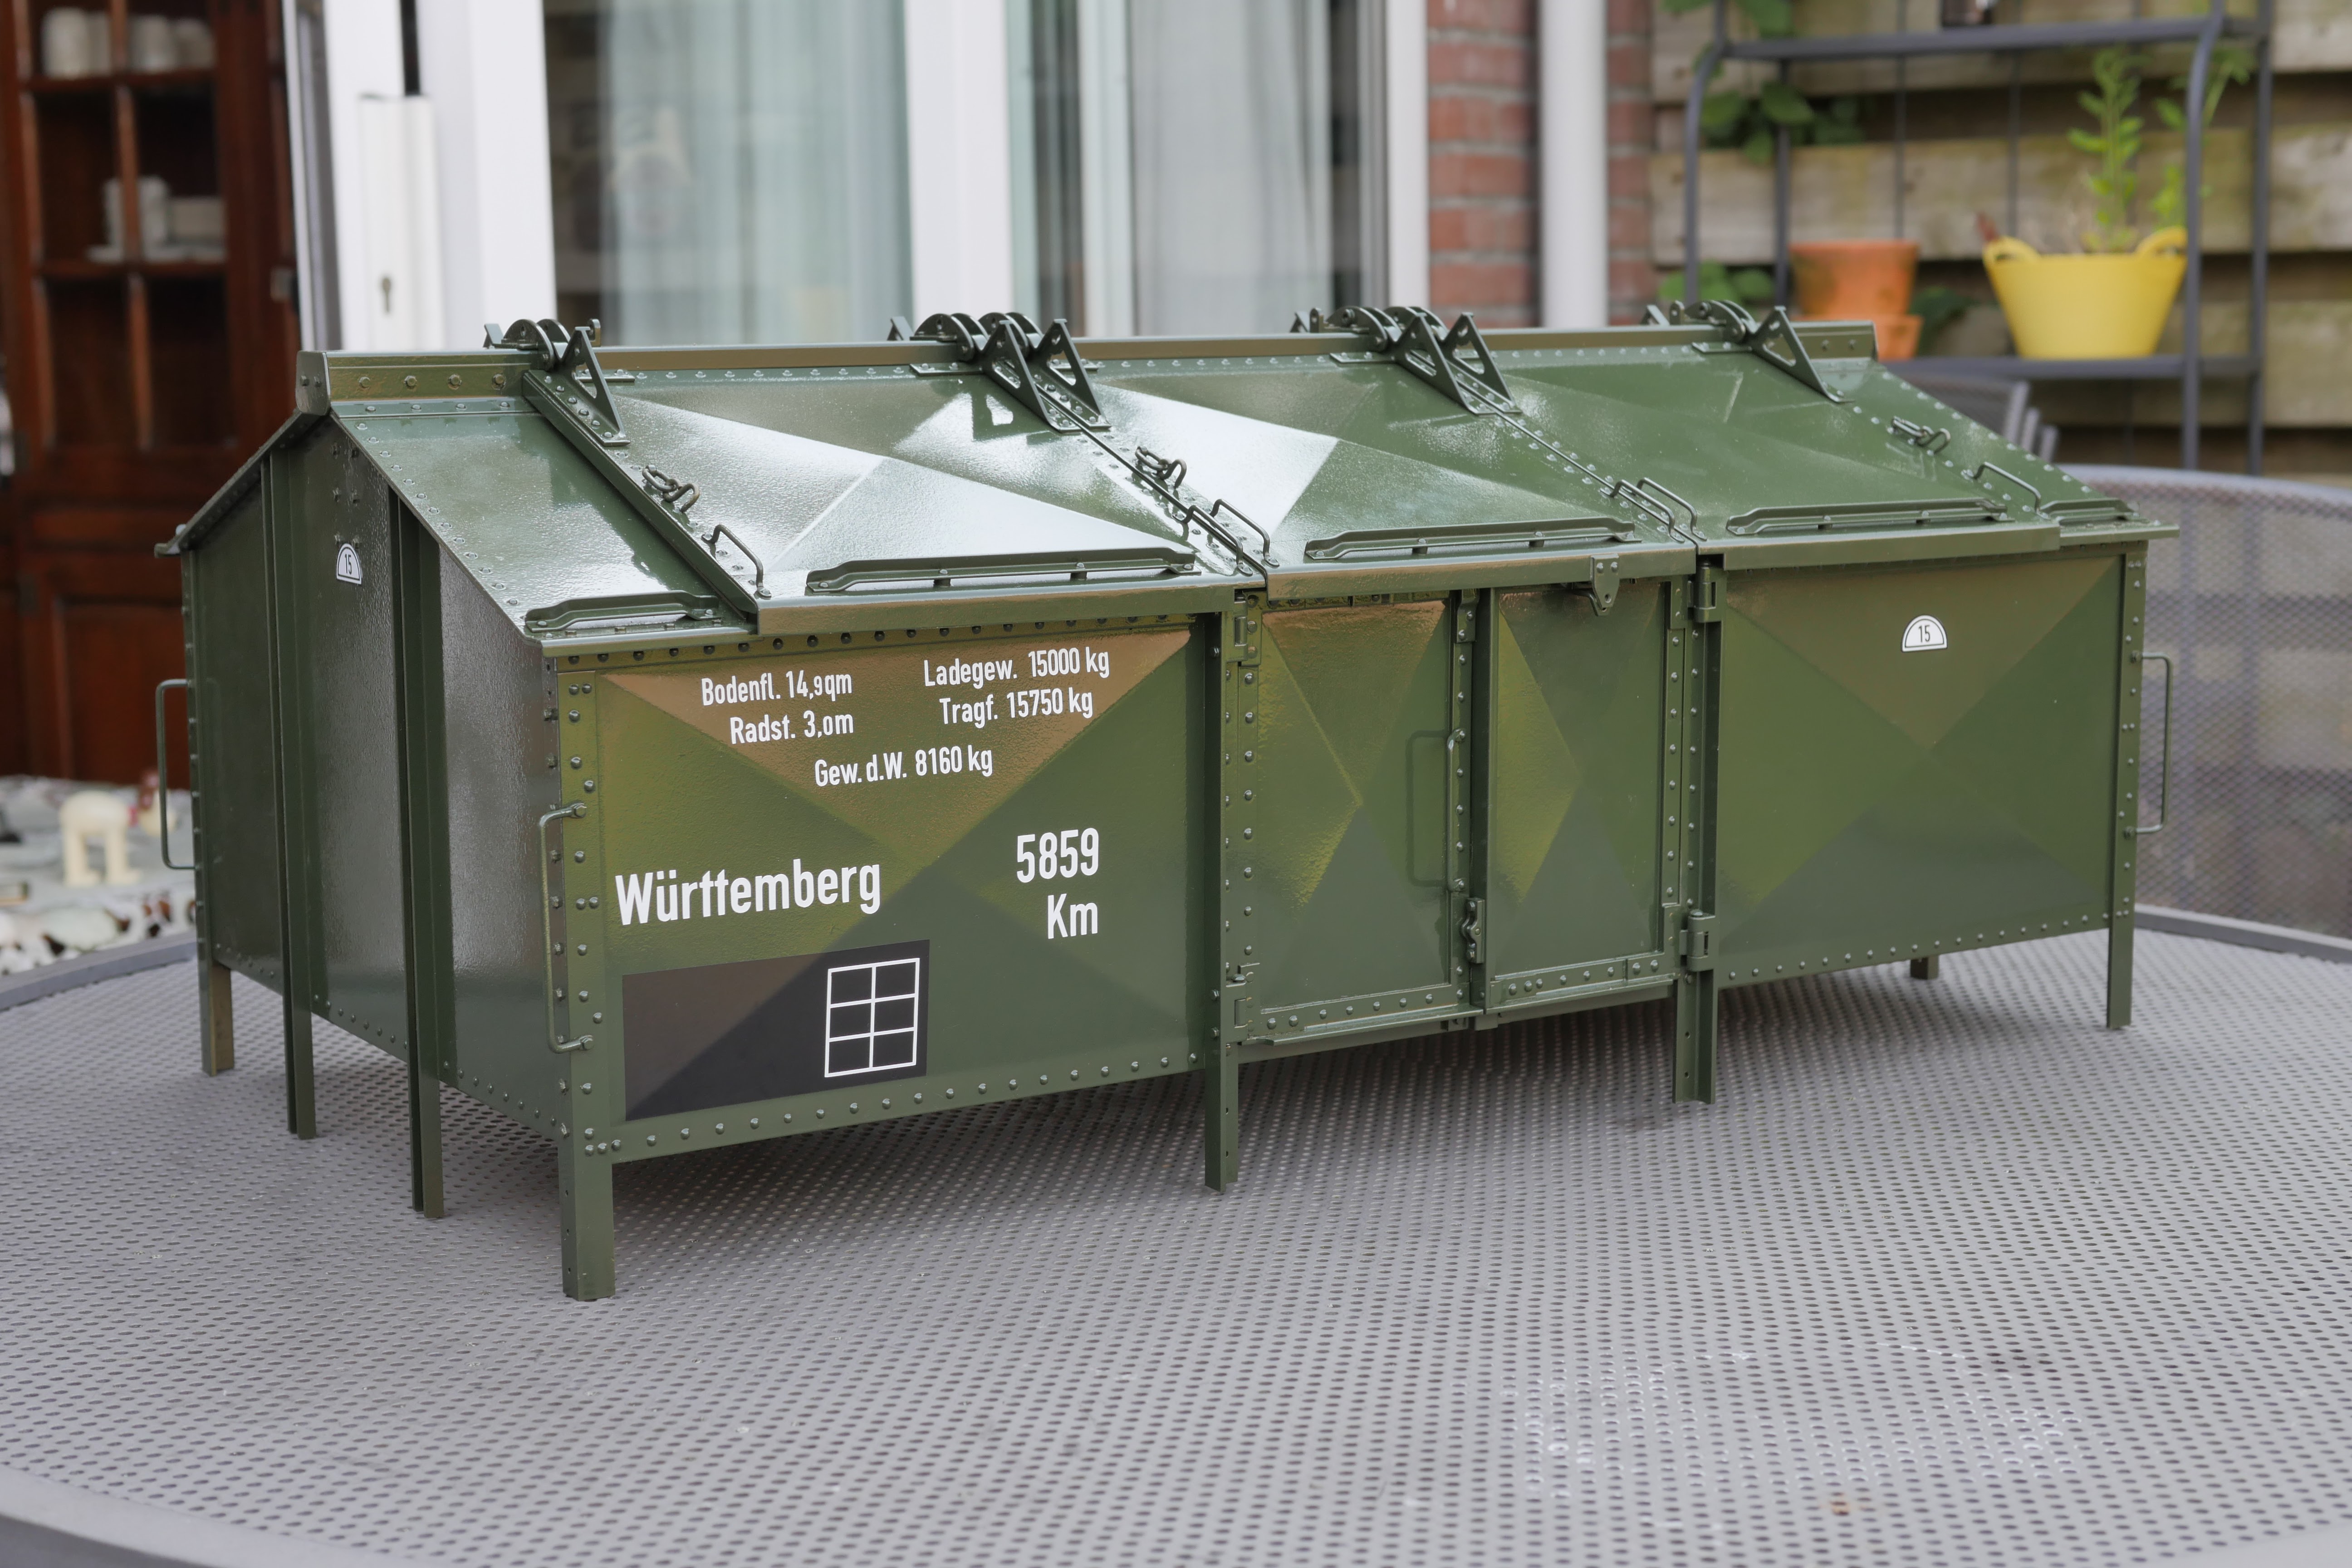
The second coat of green was applied. By binding the lids together and supporting them with some wooden strips, everything could have a second coat with minimizing that the parts would stick together.

Lettering the frame 
 
The frame got a coat of clear varnish, to seal the vinyl letters.

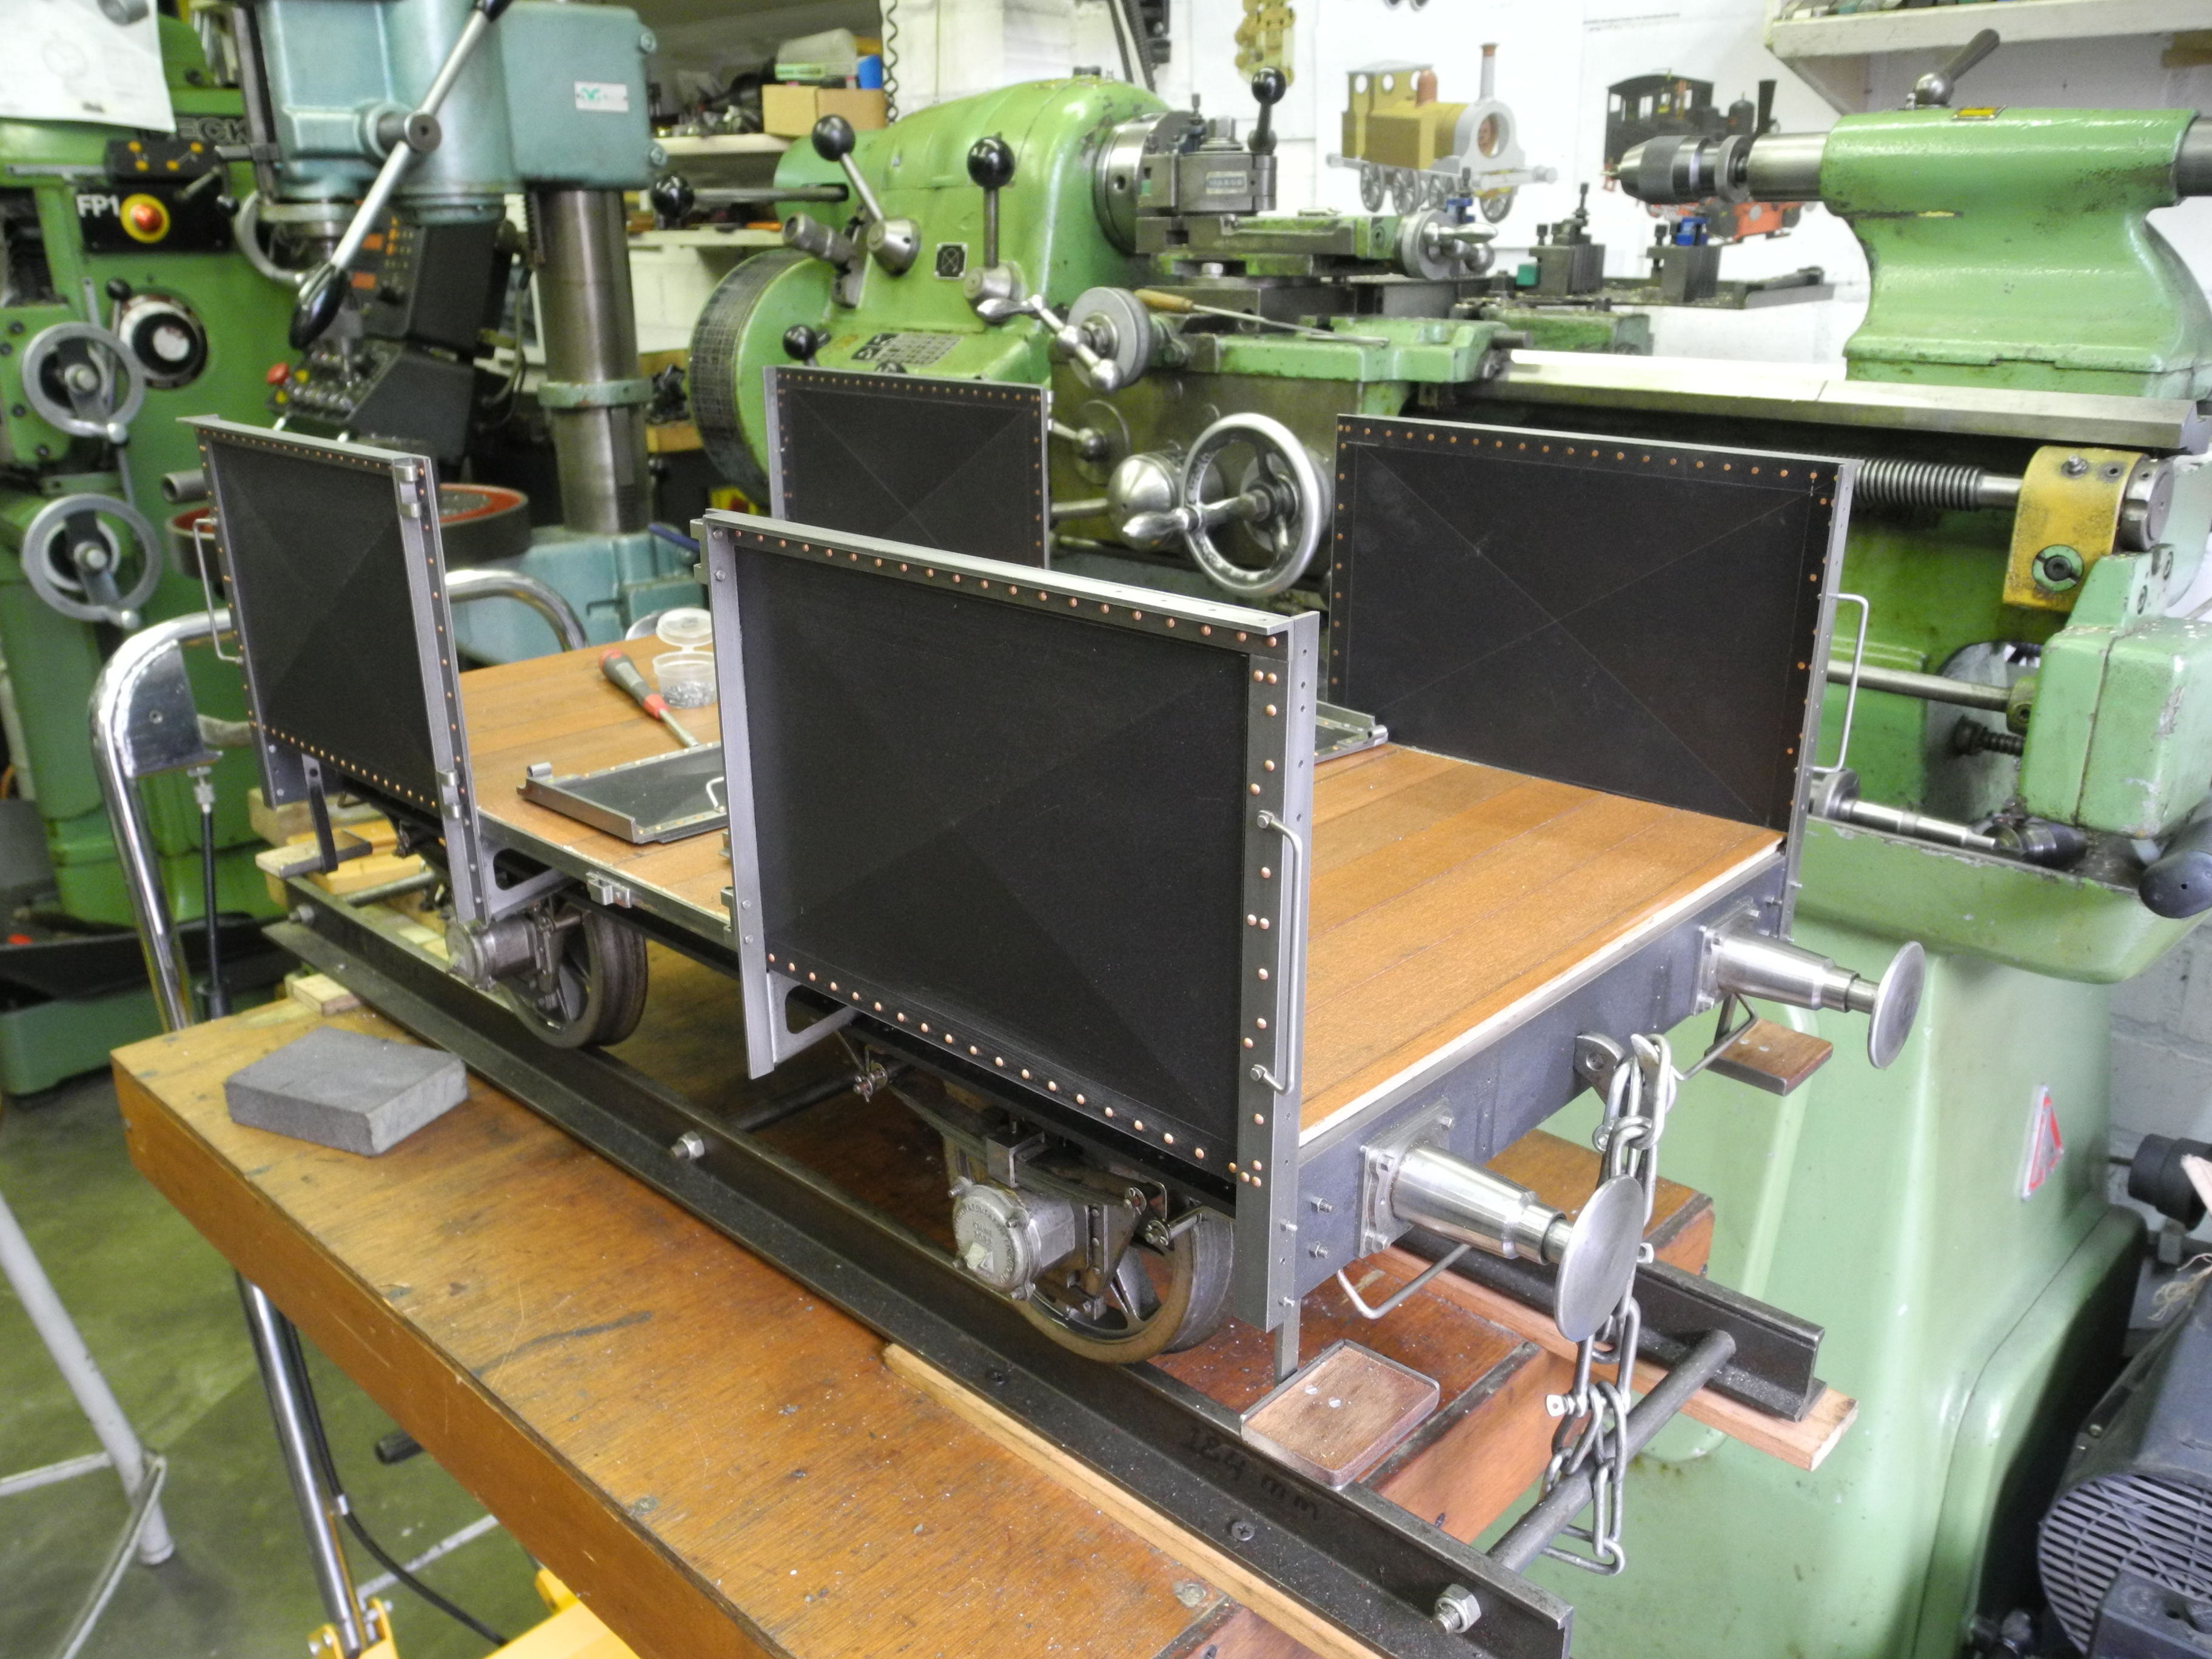
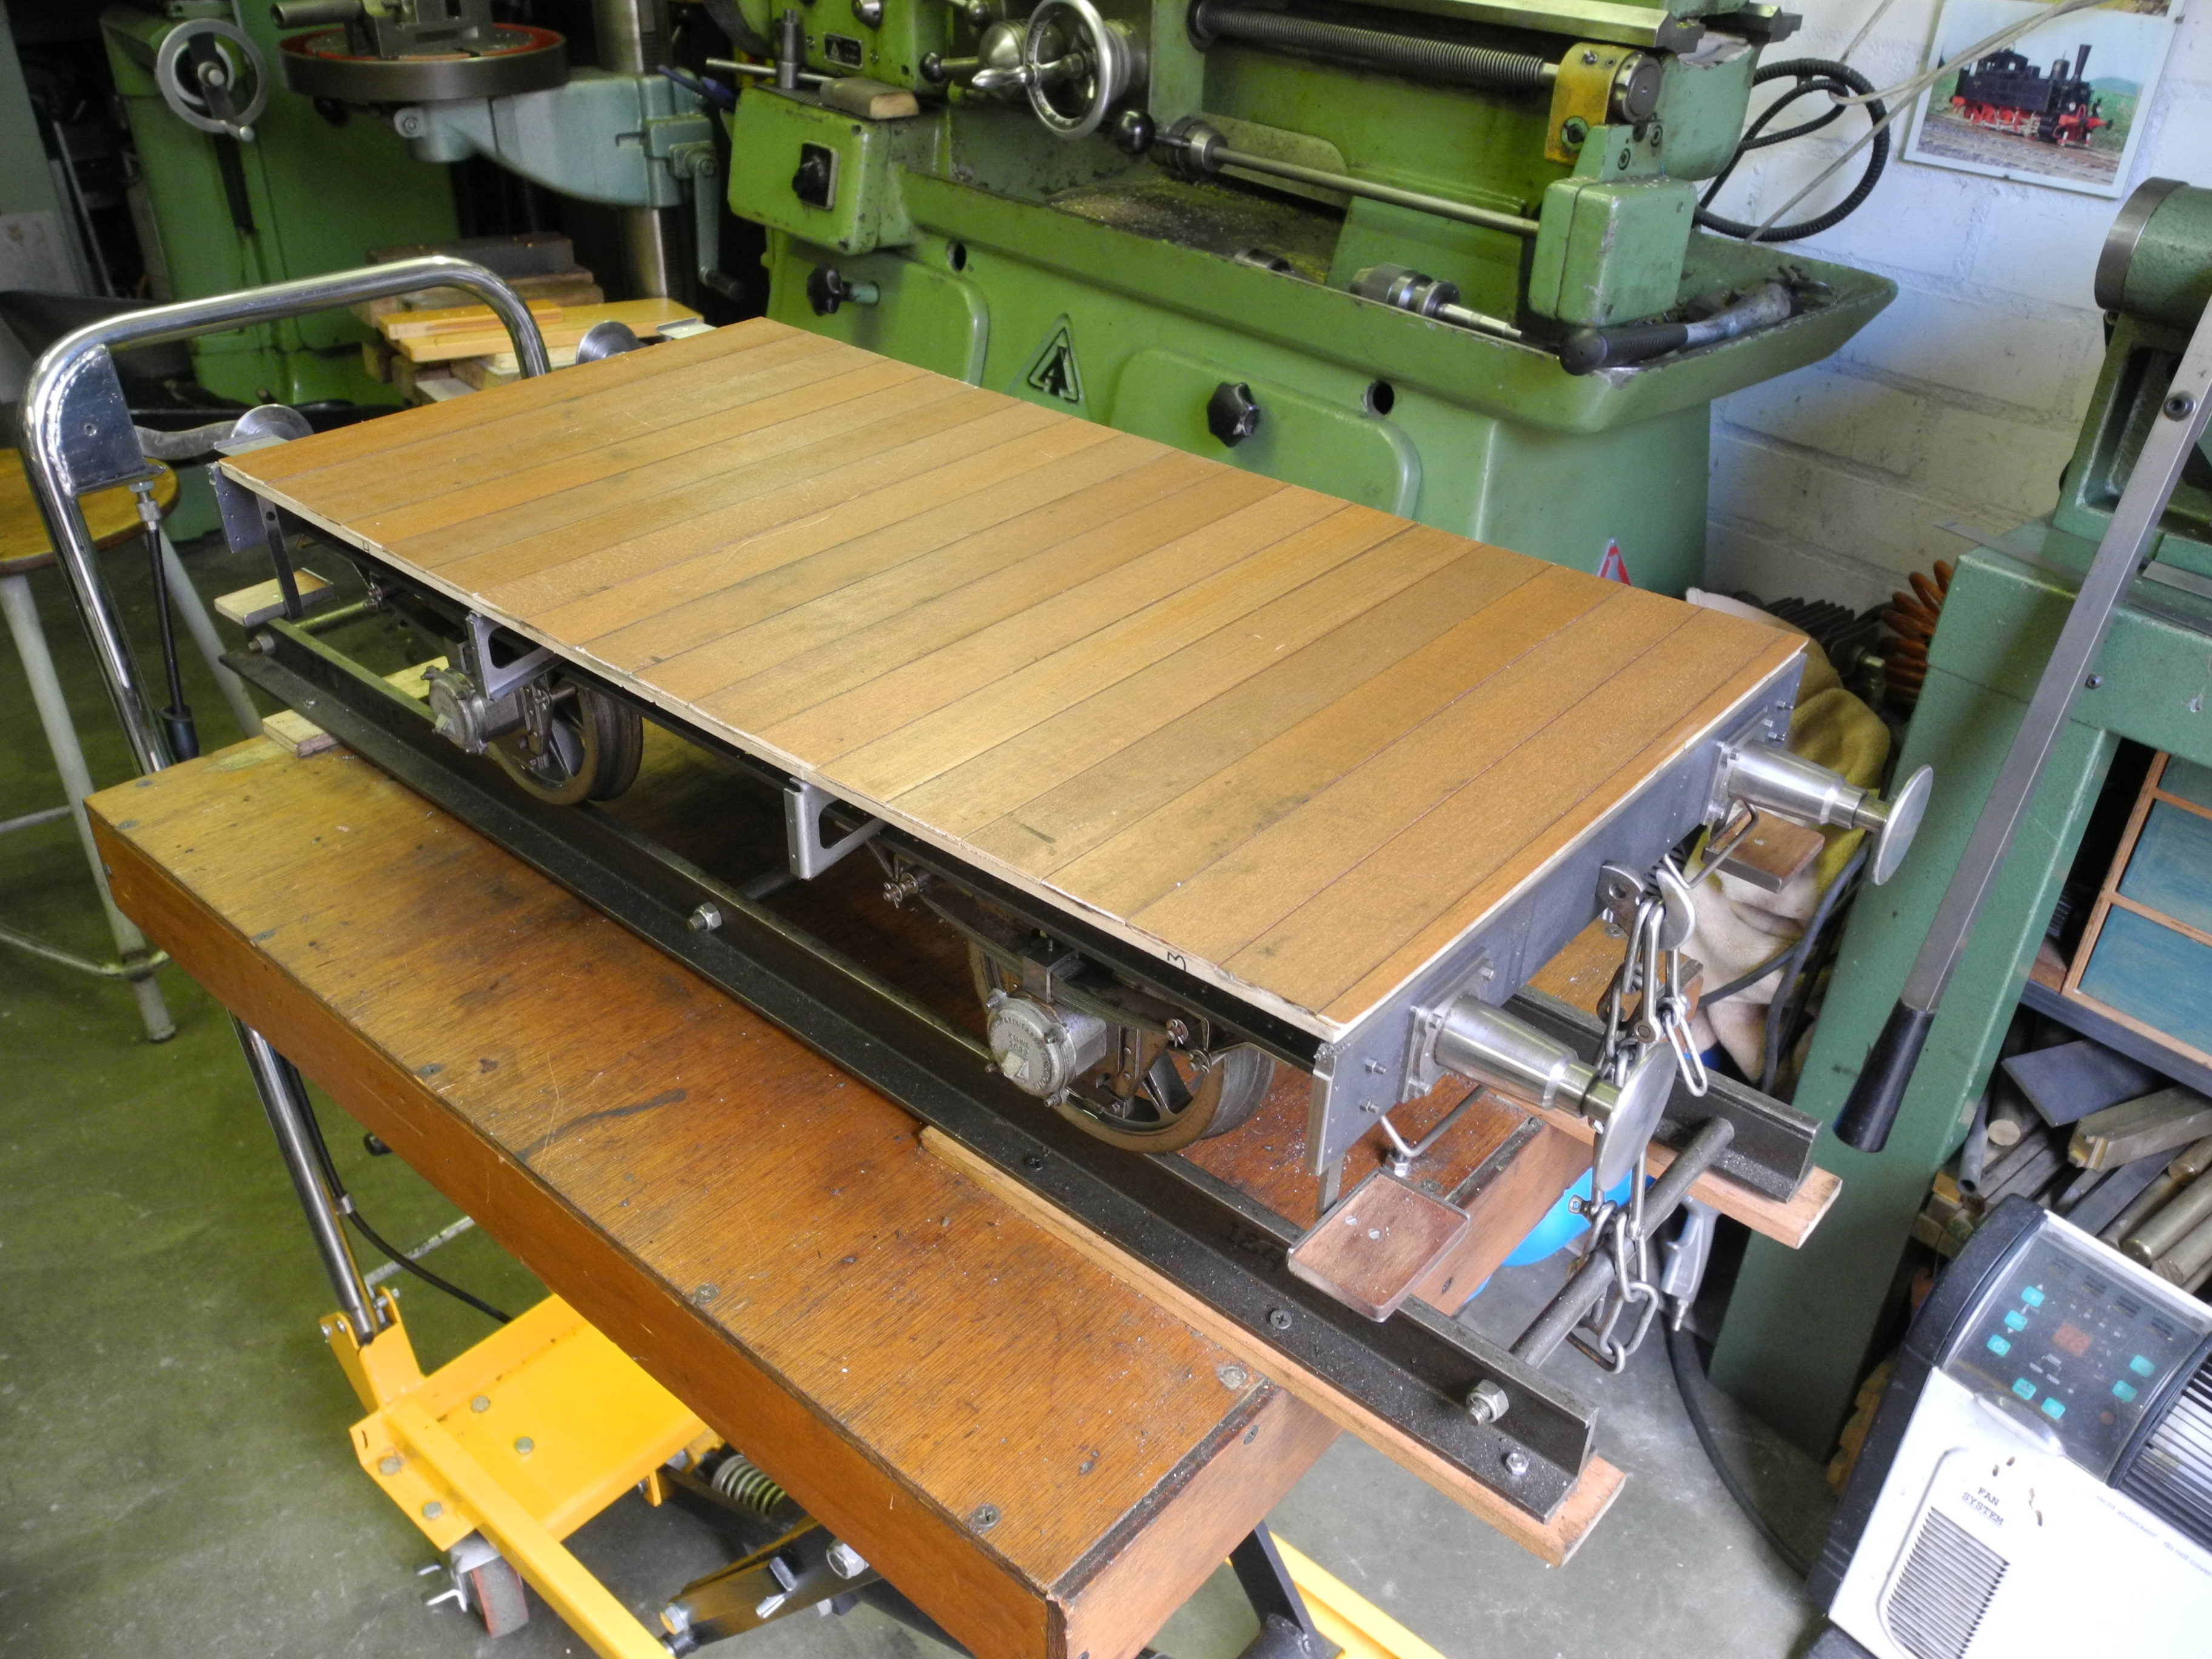
The undercarriage is fully assembled. (Buffer heads and coupling hooks still need to be 'blackened' (burning them in oil).

With a ruler as a guide, the text on the side was positioned. Because the sides are not flat but bent, is a tricky job to get them aligned. 


A particular indication sign shows the maximum tonnage that the wagon may carry.
This sign is made up of two colors. 

On the bottom of the wagon, this logo is placed, as a reference to the Fleischmann H0 model that was used to design and make this 7¼" gauge wagon. 

The lettering is finished. A coat of varnish still has to be applied. 

The final bolts holding the superstructure on the undercarriage are painted by hand.  


The door closing/locking mechanism is assembled. Although I'd made some allowance for the thickness of the paint coat, some paint still had to be scrapped off to make it free to move. A bit of Molykote
 grease is used between the sliding/moving parts. 


According to the guideline, all the parts that are operated by railway personnel have to be black. So all handrails, door grips and handles, and hooks were painted with a very small brush.  

Almost finished. A few hooks still waiting for their turn to be painted black (if the others have dried) and then the varnish coat can be sprayed.  

Ps: the type of wagon is a Km.  This is the so called "Gattungszeichen für Güterwagen"
K stands for Klappdeckelwagen  (Lidded wagon)
m  stands for a load that is more than 10.000 kg. (10 tons)


Saturday 16 July 2022

Klappdeckelwagen Final details and first steps in painting (lidded wagon) (10)

At the end of June, we went to the Dampfbahnclub Holstein, Schackendorf in Germany. They held their annual 'Insidertreffen' for which we got an invitation. 

I did not have enough time, to disassemble the Klappdeckelwagon and paint it, so I took it along, still unpainted, but now almost fully finished. It's a nice wagon to store all the oil cans, blower, tins with charcoal, and other 'greasy and dirty' stuff. 

At the loading bay. The wagon had a piggyback ride to the track.


We had a lovely week there and saw a lot of beautiful German goods trains in action.


As you see, most of the German goods wagons are painted a red-brown oxide color. German independent railways (Länderbahnen) were nationalized in 1920, and the standard color scheme was introduced by the newly formed Deutsche Reichsbahn.  The Prussian red brown became the standard for all types of goods wagons, except white for refrigerated wagons and grey for tank wagons. 
 
Our 5" British train, which we also took along, was one of the few that had a display of different colors. 
So on our drive back home (650 km) Martin and I had plenty of time to discuss what color the Klappdeckel wagon should be. Of course it could be red-brown, as I initially intended it to be. But the Königlich Württembergische Staats-Eisenbahn was an independent state railway of the Kingdom of Württemberg and had its own livery scheme. Goods wagons of the K.W.St.E. were red-brown or green. 
The book of German railway liveries by Wolfgang Diener "Anstrich und Bezeichnung von Güter- und Dienstwagen", gives a good description of all colour schemes and liveries of all the German railway companies (Länderbahnen and State Railway). 

So the decision was made to make the Klappdeckel wagon green instead of red-brown. To be precise RAL 6009. This way our 'Märklin start set' will have a bit of color when on the track. I had even a tin of paint in this color standing on a shelf in the workshop. (Btw this color is also widely used for shed doors, Dutch window shutters, and stable doors). 


In Solidworks the color of the 3D model was changed and on the internet I even found the H0 Märklin model in a green livery. 


Before a start was made by dismantling the wagon and cleaning it, making it ready to get painted, the last details had to be made. 

The locking pin keeps the lids in an open position. This was important on the real wagon, to prevent a gust of wind to blow down the lid on people that were unloading the wagon. 


Also, the very last detail is a plate on the lid, that coincides with a bracket on the door.
Through the hole in both, a padlock could be placed. This way the wagon could be fully locked and its precious cargo protected. (I've seen many pictures of the real wagons, but never come by a photo where a padlock is actually used).  


The last part: is not a detail, but an extra stiffener bar inside the main roof bar. So if somebody is accidentally leaning on the top of the wagon with some weight, it will not directly start to deform. Because I did not make an internal vertical support bar that rests on the floor, the roof bar is not that strong, even with this extra square tube.
I left out the vertical supports, to get no obstruction inside the wagon for 'goods'.  


The wheels and axle boxes got quite dirty after a month or two on the railway tracks.  

With white spirit, everything was degreased. 


A coat of primer was sprayed on all the parts and then dried on 'the washing line'. Thereafter all the parts were individually sprayed in their final color RAL 6009 green.


.