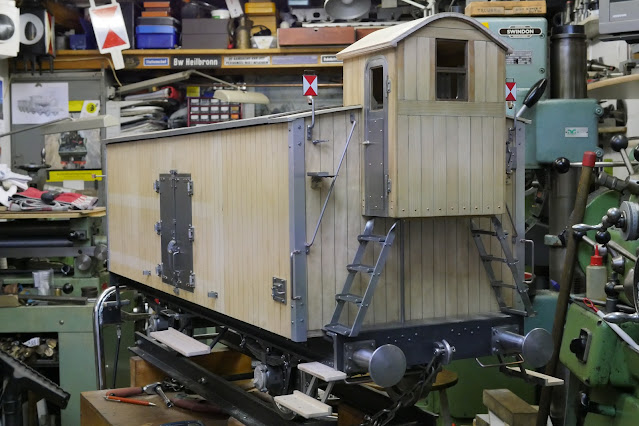
A few details that are made to finish the superstructure of the beer wagon. (in German Bierwagen, Kühlwagen or Wärmeschutzwagen)
Drawing (as it is) of the wagon: Klick here! on Grabcad for downlaod.
The front steps on the buffer beam were made extra sturdy; being on the front they are easy knocked about when loading the wagon in the car or by lifting it on the track.
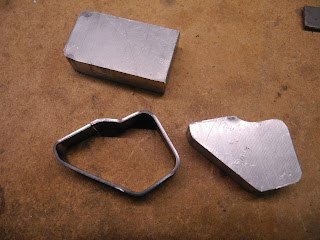
A 3 mm strip was cut and bend open in the vice.
The components of the step.
The front steps on the buffer beam and the two top steps above the buffers.
This way the guard could install the oil lamps when needed.
On the rear of the wagon there are two folding steps, so you could climb on the roof of the wagon.
Simply cut from 1,5 mm steel plate and filed to shape.
They are on the real wagon, although this wagon has no roof openings for loading ice in to the wagon. This was done using the main doors. On the inside, in the rear and front of the wagon, there were large zinc trays in which ice bars were loaded.
The hinge for the folding step.
I recently found this magnificent website, were there are many detailed photos of
German good wagons
In folded up position and...
folded down position.
The dummy door for the 'Presskohlenheizung' (coal heating device). The real wagon was insulated and could be packed with ice, to keep the content (beer!) cool during warm days. But in freezing conditions (as we have them right now here in the Netherlands, -11 degrees Celsius), this coal burning heard was able to prevent the beer from freezing. On each end of the wagon there was one 'Presskohlenheizung', which was loaded with coal briquette, that could heat (warm) the wagon for 7 to 8 hours.

From 8 mm copper pipe the lamp holders are formed
Silver soldering the lamp irons
The rear of the wagon completed.
The door stops, on the side of the wagon installed.
Ready to enter the brakeman's cabin?😀
First bending operation of the outriggers.
An aluminium former was used for bending (hammering) them to the correct shape.
Six of them on each side. An afternoon work; but hardy visible once the wagon is on the ground level track😏.
The outriggers screwed to the frame, so all the modelling work is finished.
The lamp irons in front of the wagon; I wonder how long they stay intact on the wagon, once in use on the track.
These lamp irons are on the side of the wagon, as was normal to most of the covered goods wagons.
On the photo of the real beer wagon of the "Württembergische hohenzollern" brewery, they are however on the top. But this would collide with the opening of the roof. A balance between true scale modelling and practicability has to be taken in account.
The footrests for a passenger is a copy of those used on the Open wagon (
See this Link).
When the weather improves, I can start with the paint and lettering job.


