Before I started with the end door locking mechanism, I finished the brakeman's cabin sliding window frame.
This small window on the rear side is sliding in two guide rails.
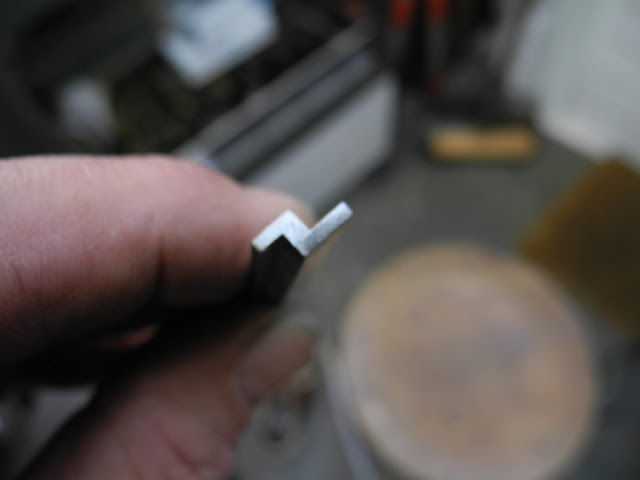
The shaping machine was used to make these guide rails. This is a fast way to make them and leaves hardly any machining marks on the work piece.
The force of the cutting tool is little, so even a small thin walled profile as this, stays straight after machining.
The guides were riveted according to the works drawing, but for the model this is difficult to assemble on the cabin. So I've chosen to use the rivets as dummy and inserted two M2 studs for fixing the profile to the wood.
This way the assembly of the sliding window frame is easier; only the two studs hold them in place.
The window frame is made of 3 mm thick brass plate. A little chamfer is made by hand.
In the open position...
and closed position, the end stops keeps it in the correct place. Glass in the window and door windows has to be cut to size and fixed. (after final painting)
Locking mechanism end door
The locking mechanism for the end door. Because this wagon could be tipped over for unloading on a special tilting rail, the door should be opened in a fast and save way. A handle could rotate a shaft, on which four keys were mounted that keep the door locked.
For locking mechanism of the end door small hinge frames were needed. They support the rotating shaft and fixes it to the buffer beam.
These were 3D-printed in stainless steel. For printing, so called support material is needed, which has to be removed afterwards. With plastic 3D-printed parts this is easy, but in steel this requires a lot more force.
Here the support material in the circular part is removed with a small punch.
The hinge frames, ready for the next stage; removing the support material
from the back side. This support was needed during the 3D-printing, for fixing the product on the printing bed.
I tried removing with a pair of cutting pliers, it works but this was hard to do.
With the aid of a cold chisel and the material in the vise it went a lot better.
This hinge is made of two separate parts. They "click" together on the end and are held down in the front with a M2 nut and bolt.
After assembly the hole was reamed (6H7).
The complete set was shifted on a shaft and the back side was made to dimension by hand with a file.
The hinge supports ready for fixing to the buffer beam.
Drilling was done in one set-up. Positions taken from the door itself.
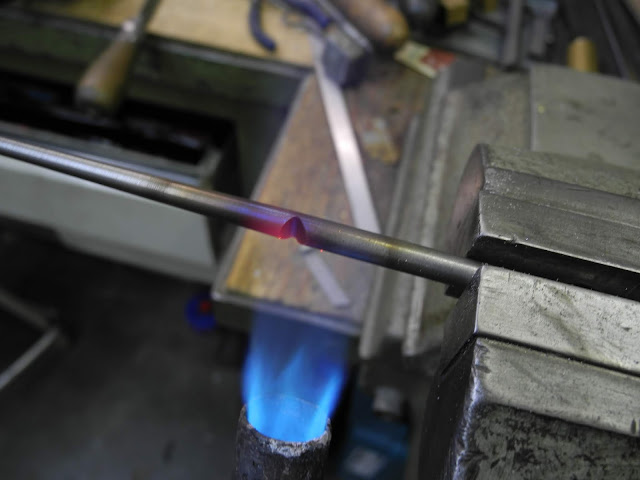
The shaft had a handle to operate. The sharp bends on the work drawing could not be made directly by simple bending the 6 mm shaft. A recess was cut, and then the red hot steel was bent.
After silver soldering the bends, it looked like the part on the real wagon.
The little cams, to lock the door, were CNC-milled to shape.
Afterwards they were cut with a large saw mill
The two cams in the middle hold the door down as well. They will be glued with Loctite 601 to the shaft.
The door handle catch was made with "a poor mans CNC method": because this part was exactly 1:8 on the original drawing, I could glue it directly on a piece of metal and cut to size with a hack saw and file.
A simple and fast method to get accurate shaped parts. For this one-off part, this was the quickest way to produce this 3 mm thick steel catch.
Only after fixing the part, I realised how clever the design of the catch is.
The radius on the front guides the catch when the door handle is pushed against it. Then it moves upwards and falls in the locked position.
The complete door locking mechanism.
Unlocked position.
Locked position
Even on this model the door is firmly locked this way and very easy to operate.
Even on this model the door is firmly locked this way and very easy to operate.
The completed end door.


