The first thing I've tackled are the horns and bearing blocks. For practical reasons I've decided to use ball bearings, but still make a reference to the appearance of the original plain bearings. So not exactly to scale, but reliable in use. I had some 6202 2RS bearings, and adapted the blocks to suit them.


There is about 2 mm sideways play between the horn cheeks and horn block . This play is as original on real wagons and makes it able to shift the axles and adjust themselves to a curve on the railway.
This self steering axles (Vereins Lenkachse in German) were used to reduce the rolling resistance and minimize wear and tear on the wheel flanges and rail heads.

The axles are 20 mm in diameter and were turned between the centers

The wheels are glued to the axle with Loctite 601.


The inner ring of the bearing is locked on the axle, with a custom made end cap.


The bearing house provides a sliding fit of the outer ring of the bearing.


Not much detail here, but a functional housing that will stand up the load and sometimes rough handling on the miniature railway.

With a radius mill the sliding block is formed.


To give the front a bit of appearance, a fixing plate for the front cover is CNC milled to shape.


There is just enough space for M2 screws to fix the plate to the bearing housing

My son was able to 3D print in stainless steel the front cap during his internship with KMWE in 2015.
You see that even making wagons is taking up more time than anticipated. 😀

With a wink to the original caps, the text makes a link to our own workshop.
We used the letters of KMWE to make our own name "Klein Metallwarenfabrik Eindhoven" (Small metal parts factory Eindhoven)

Lying upside down the axles are test fitted on the frame.

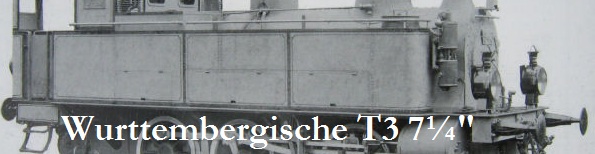
From Gauge 1 (scale 1:32 Märklin 5838)

to Solidworks

and 7¼ inch gauge (scale 1:8)