
With the 3½" Mona out of the workshop I finally got around to making and finishing more boiler parts.
Finishing the boilerplates

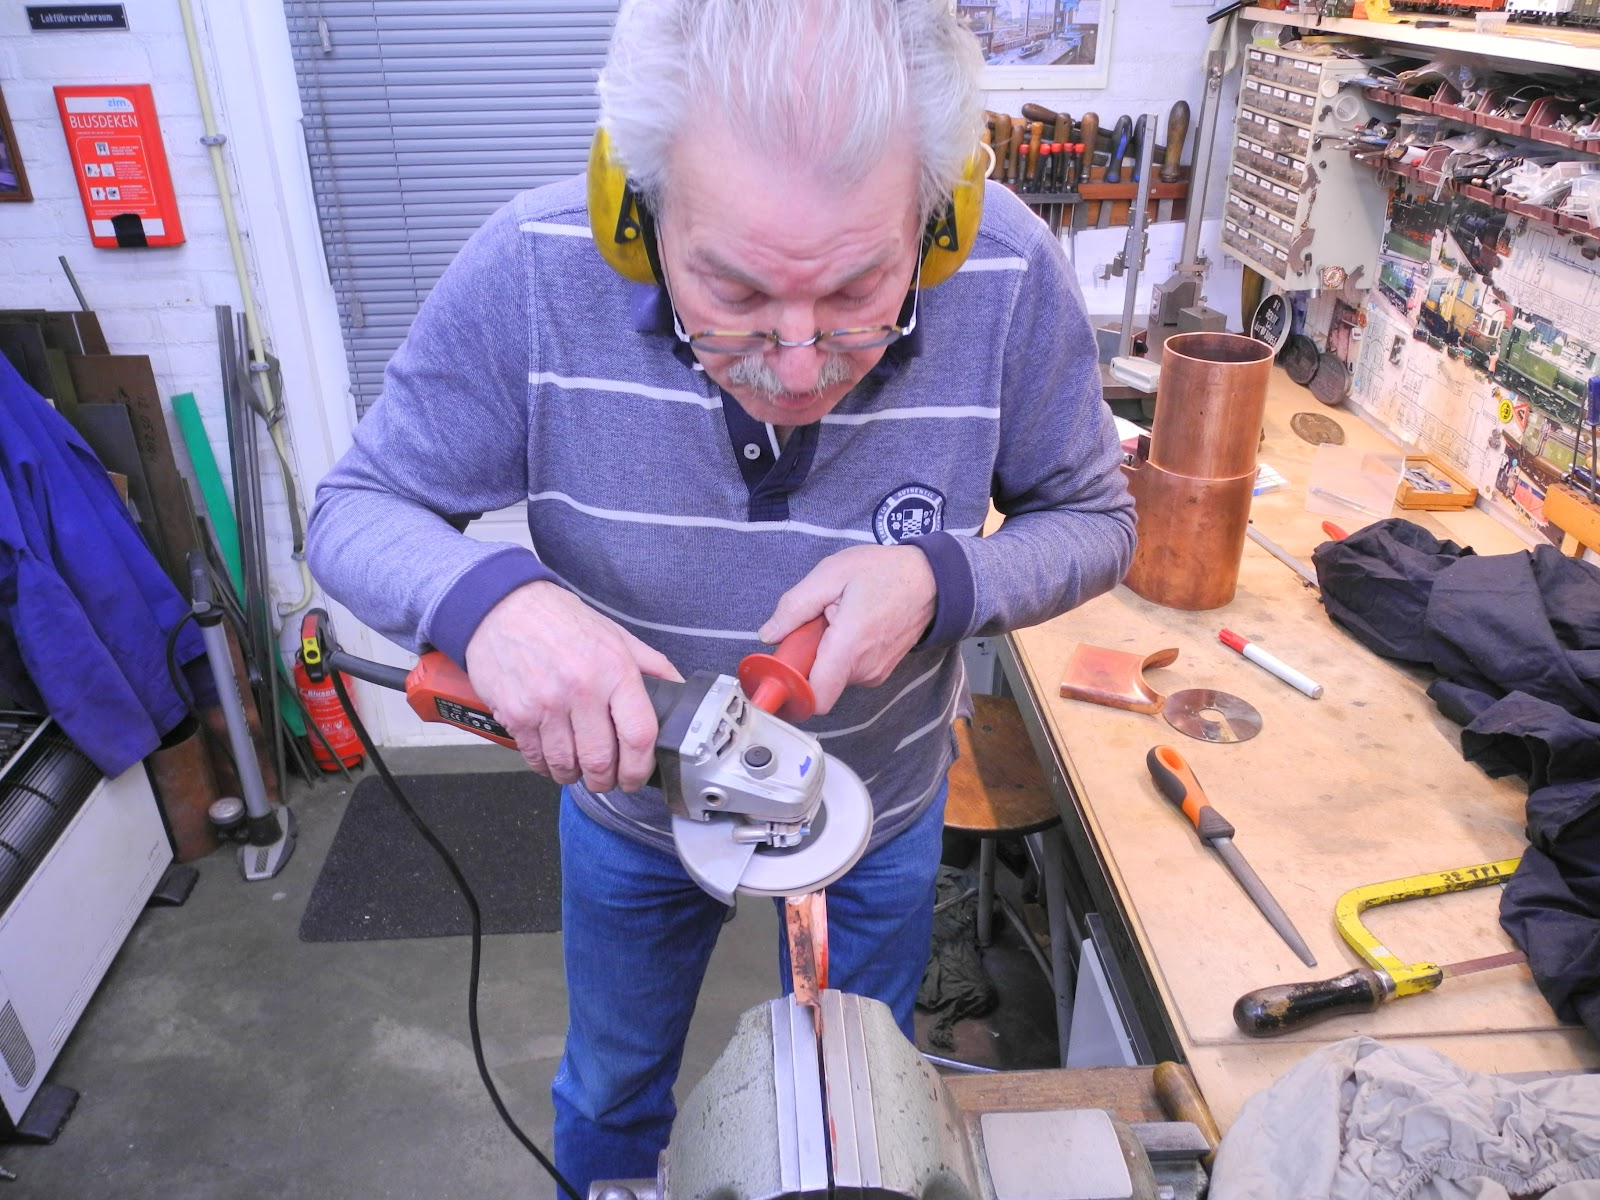
First of all, was cutting the plates to length. This was all done by hand: sawing and filing and sometimes the use of the angle grinder.
Firedoor ring

From a bar of copper, the firedoor ring was turned. This is a similar version as was made for the Württembergische T3, but only smaller.


The conical shape (bigger towards the inside) gives a clearer view on the fire.
Dome ring
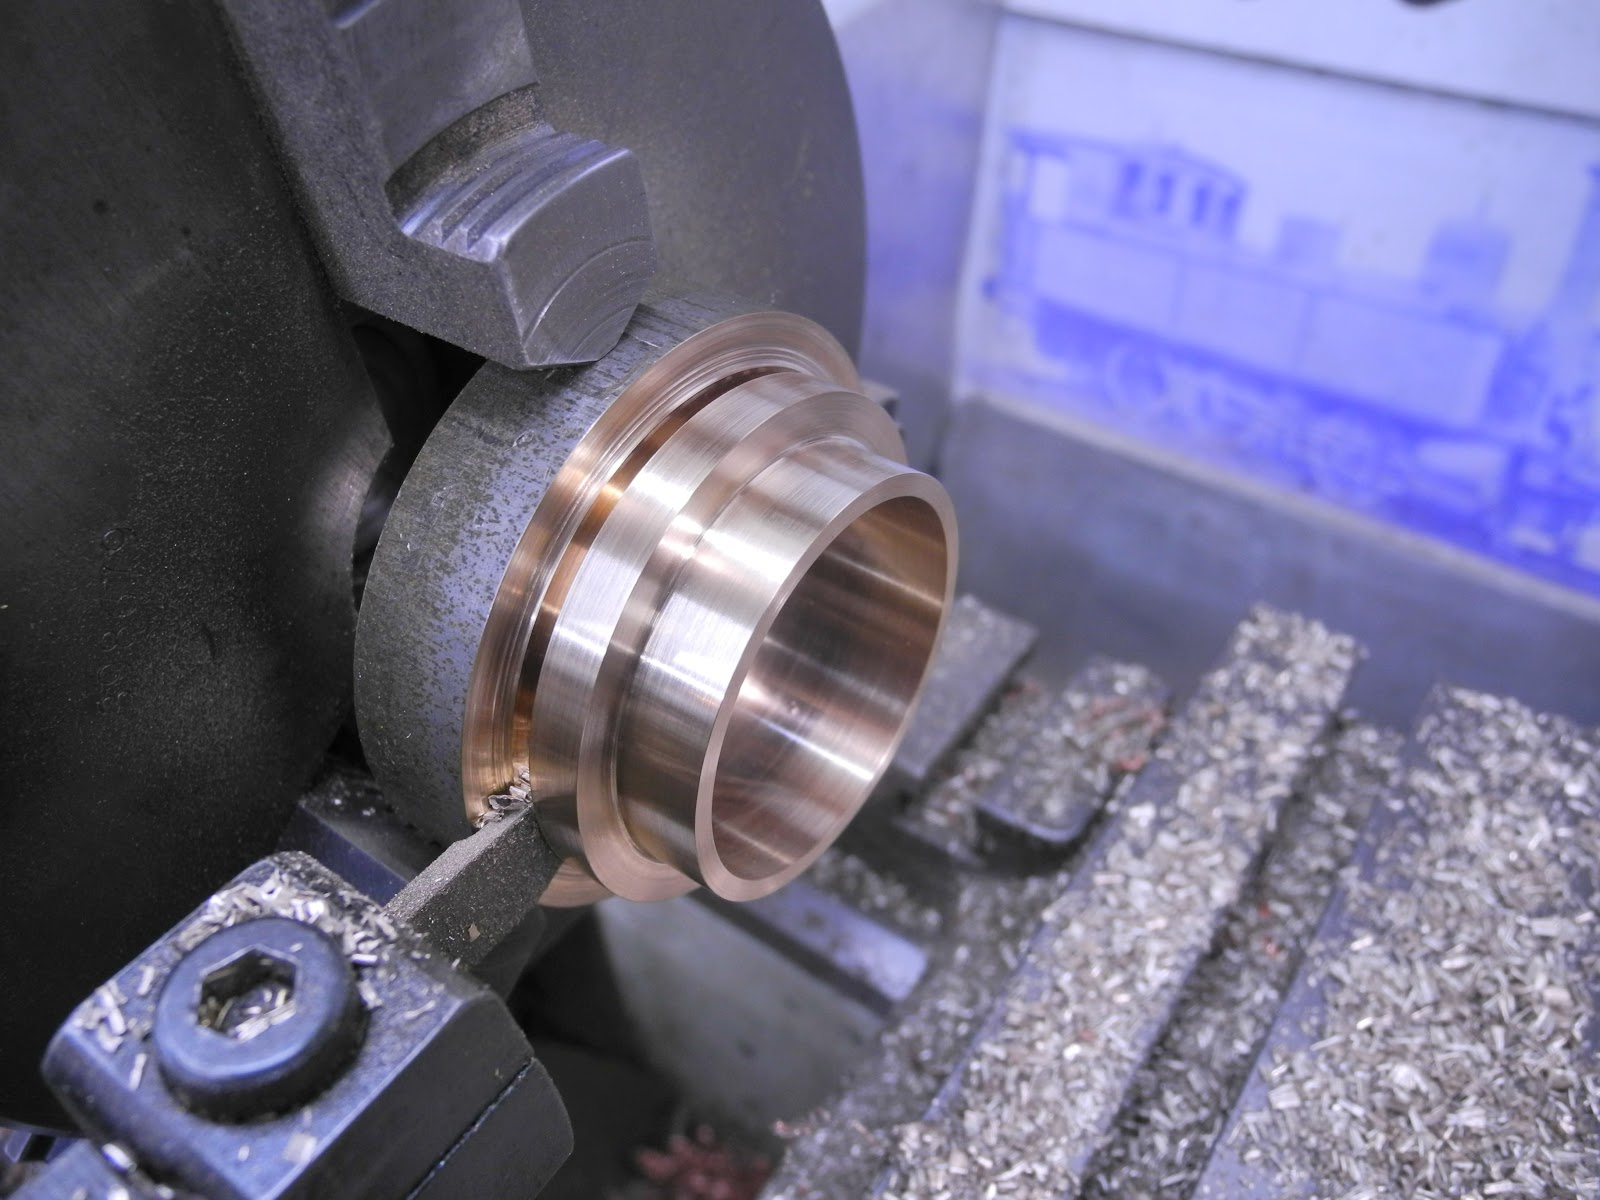
Turned from bronze, this ring holds the inner dome to the boiler.

Marking out the holes for the screwthread


Fly cutting the radius of the boiler shell. The ring is held by 4 M3 bolts to a steel mounting plate. This makes the setup in the vice easier. Only light cuts were taken.


A separate copper ring is made, for making it easier to hold the dome ring in the correct position on the boiler shell while silver soldering.


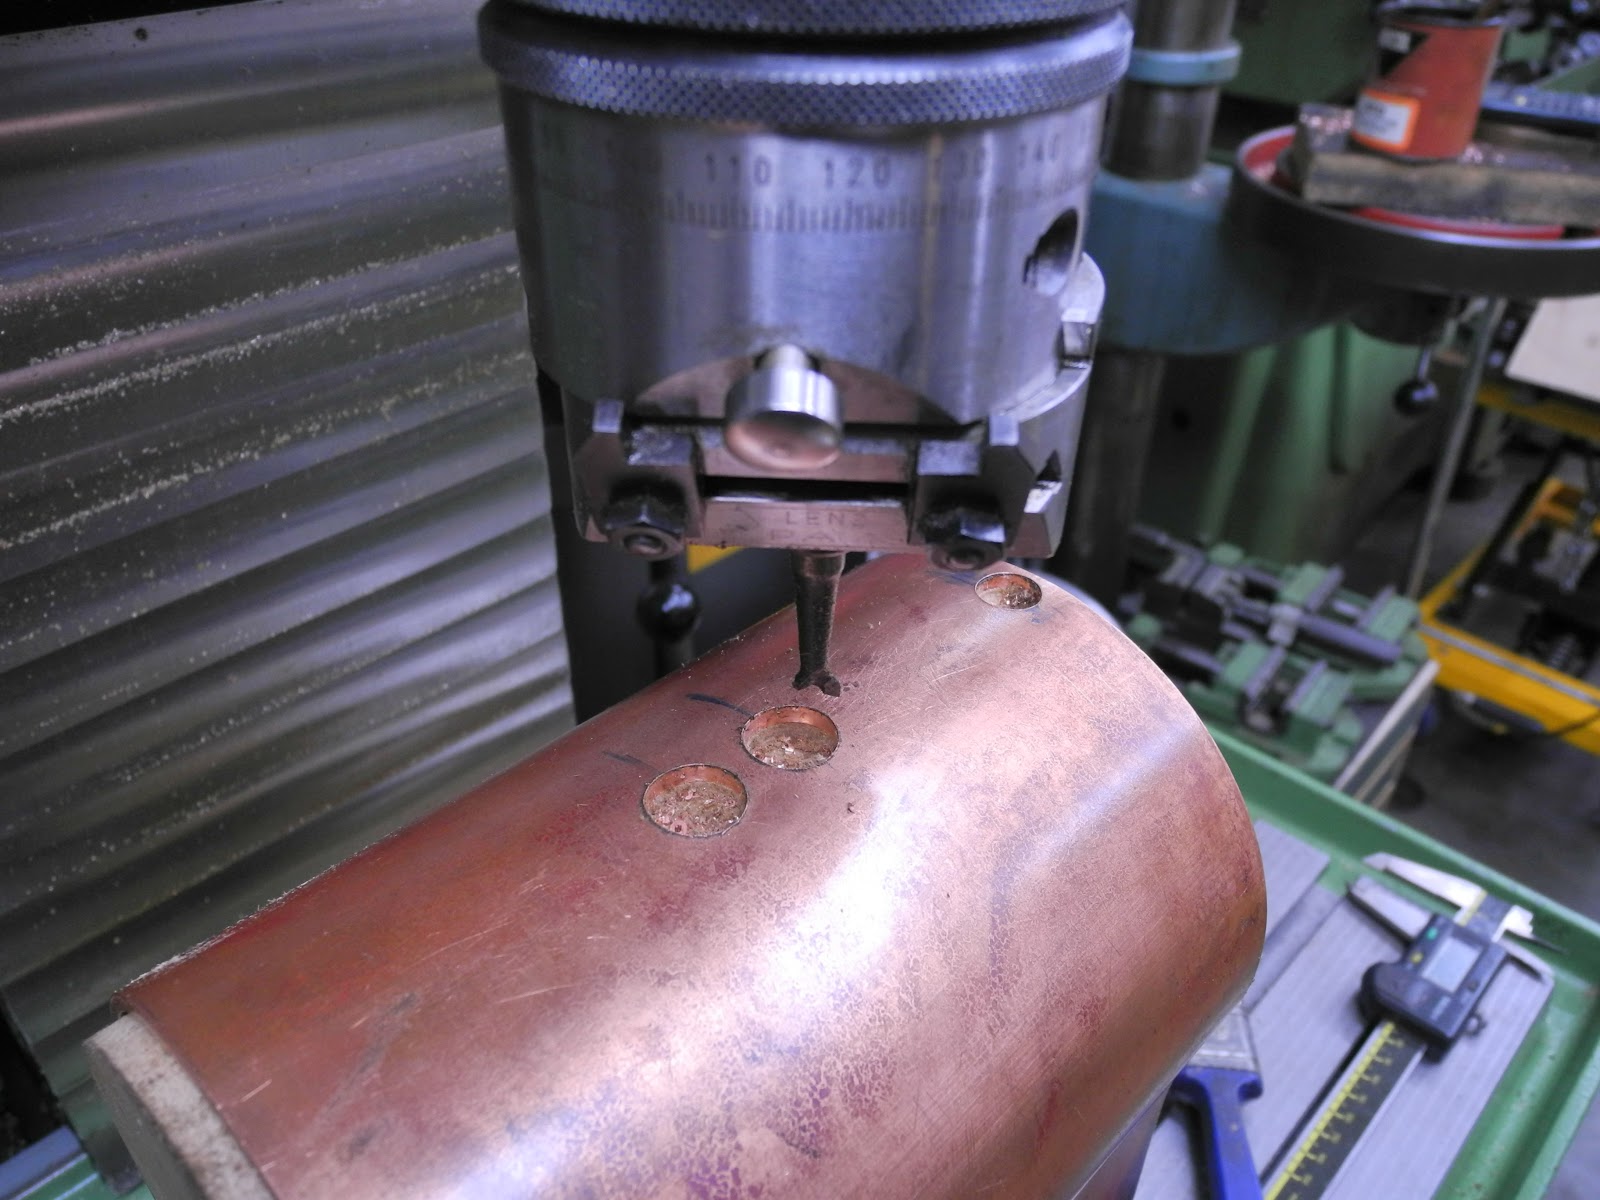
Chain drill the dome hole in the boiler shell.

With a half-round file, the hole is cut to size.


The hole in the boiler is a about millimeter smaller than the dome ring, so that I can see during the soldering process, that the silver will nicely flow around the complete seam.
The copper ring will be held in position with a few rivets.

Work in progress
Drilling the outer wrapper.
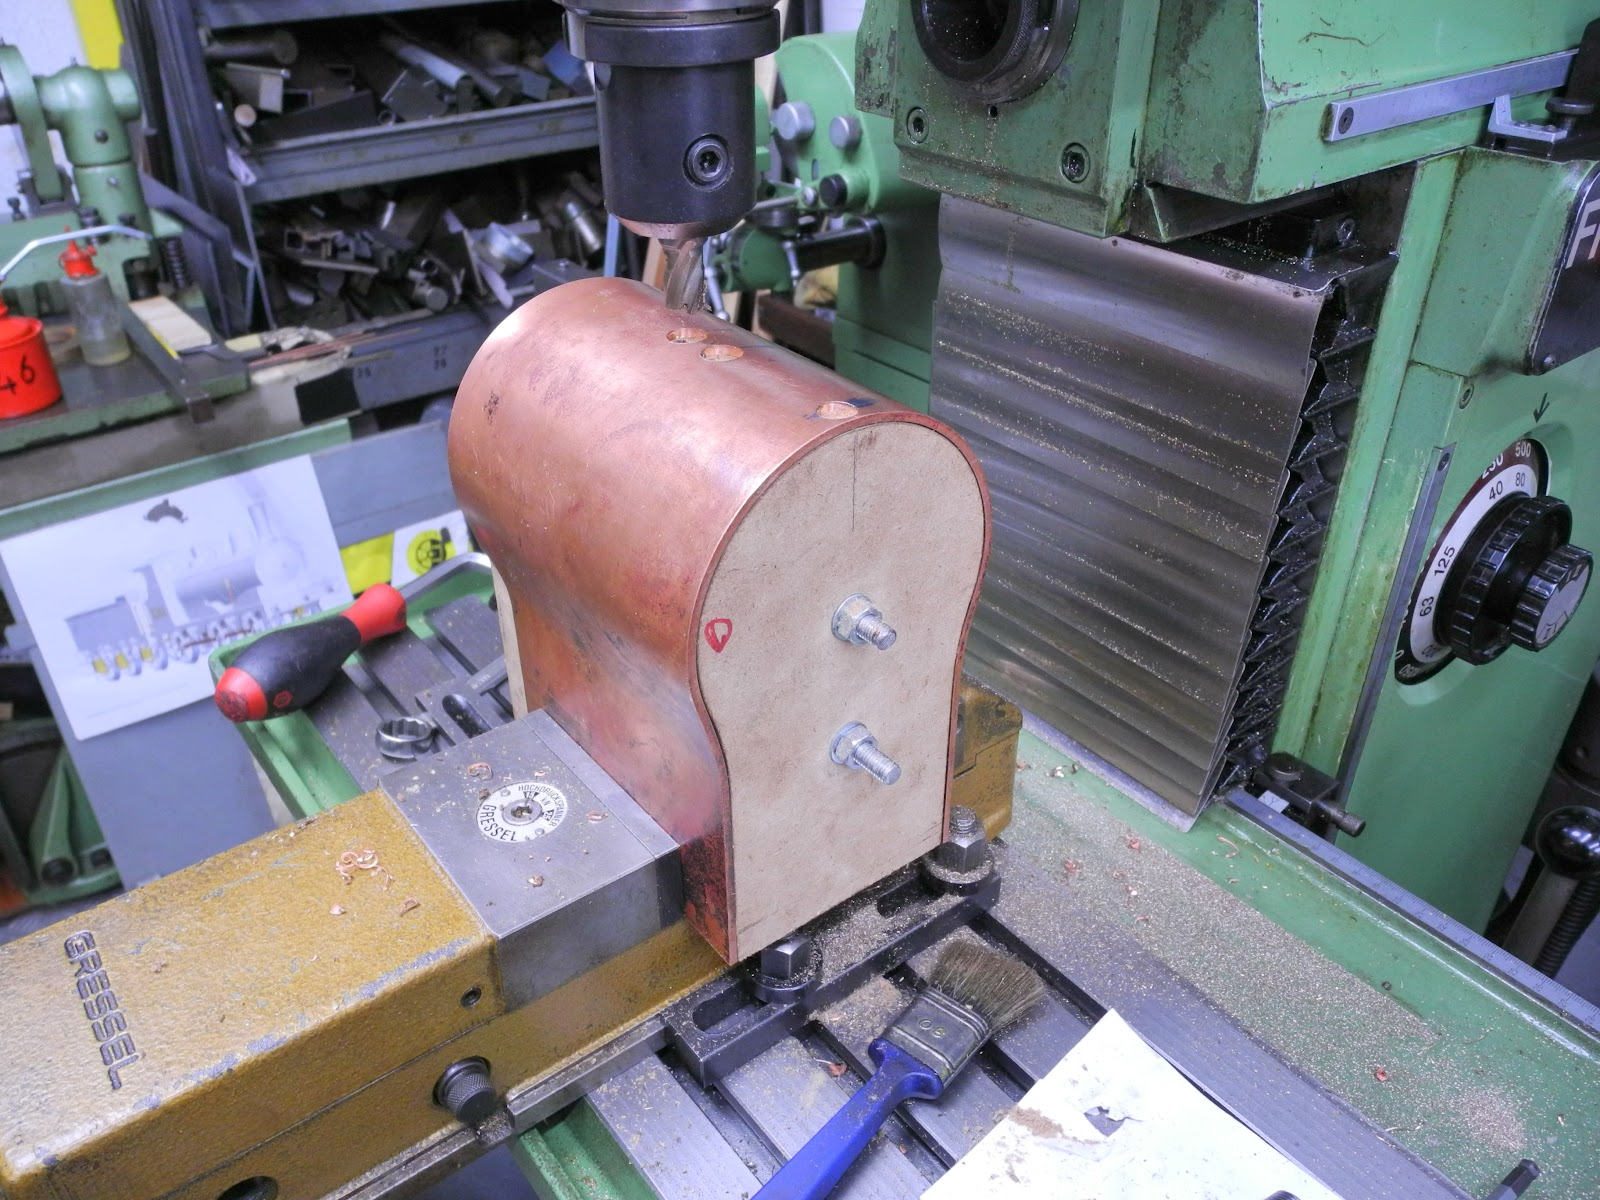
Making the holes for the safety valve bushes.
I didn't have a correct end mill size, so the boring head was put in action.

Drilling the holes for the steam valves. This loco has no turret, so several holes are needed.
Somebox tube plate

Locating the center of the tube plate, for drilling and reaming the fire tube holes.


The same procedure was used for the firebox tube plate.

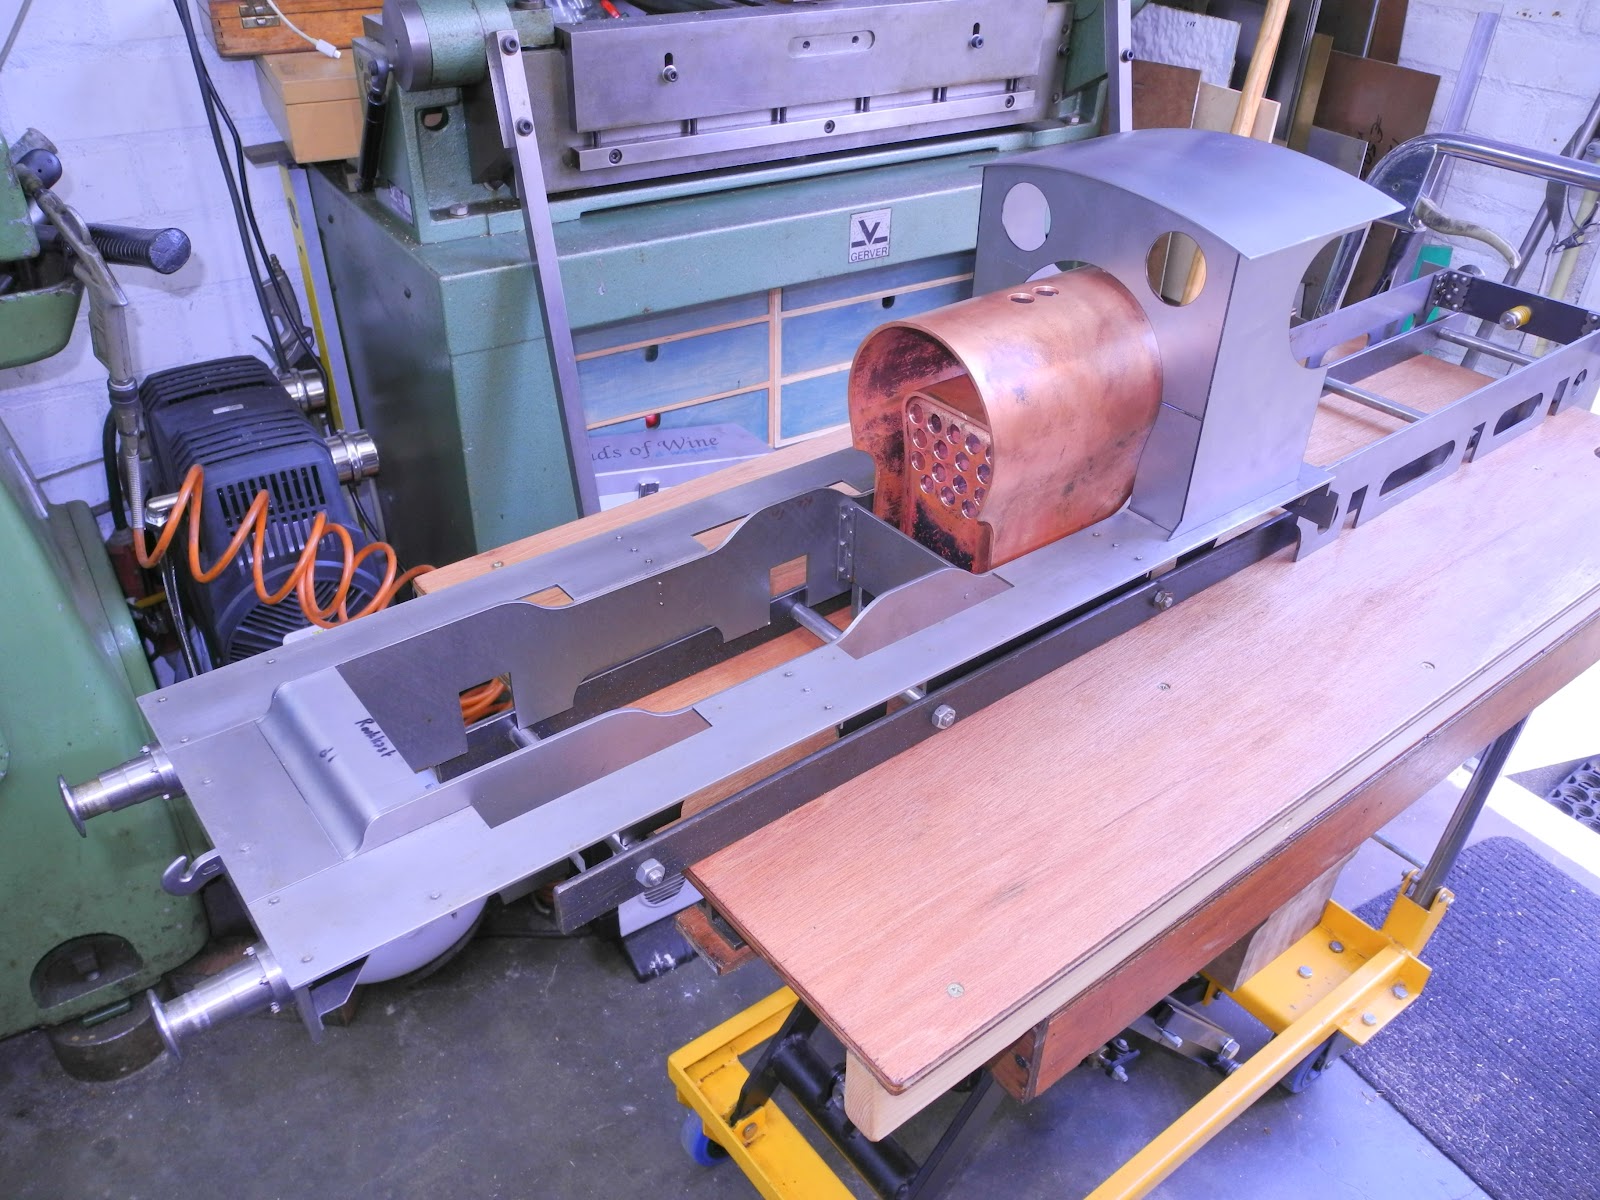
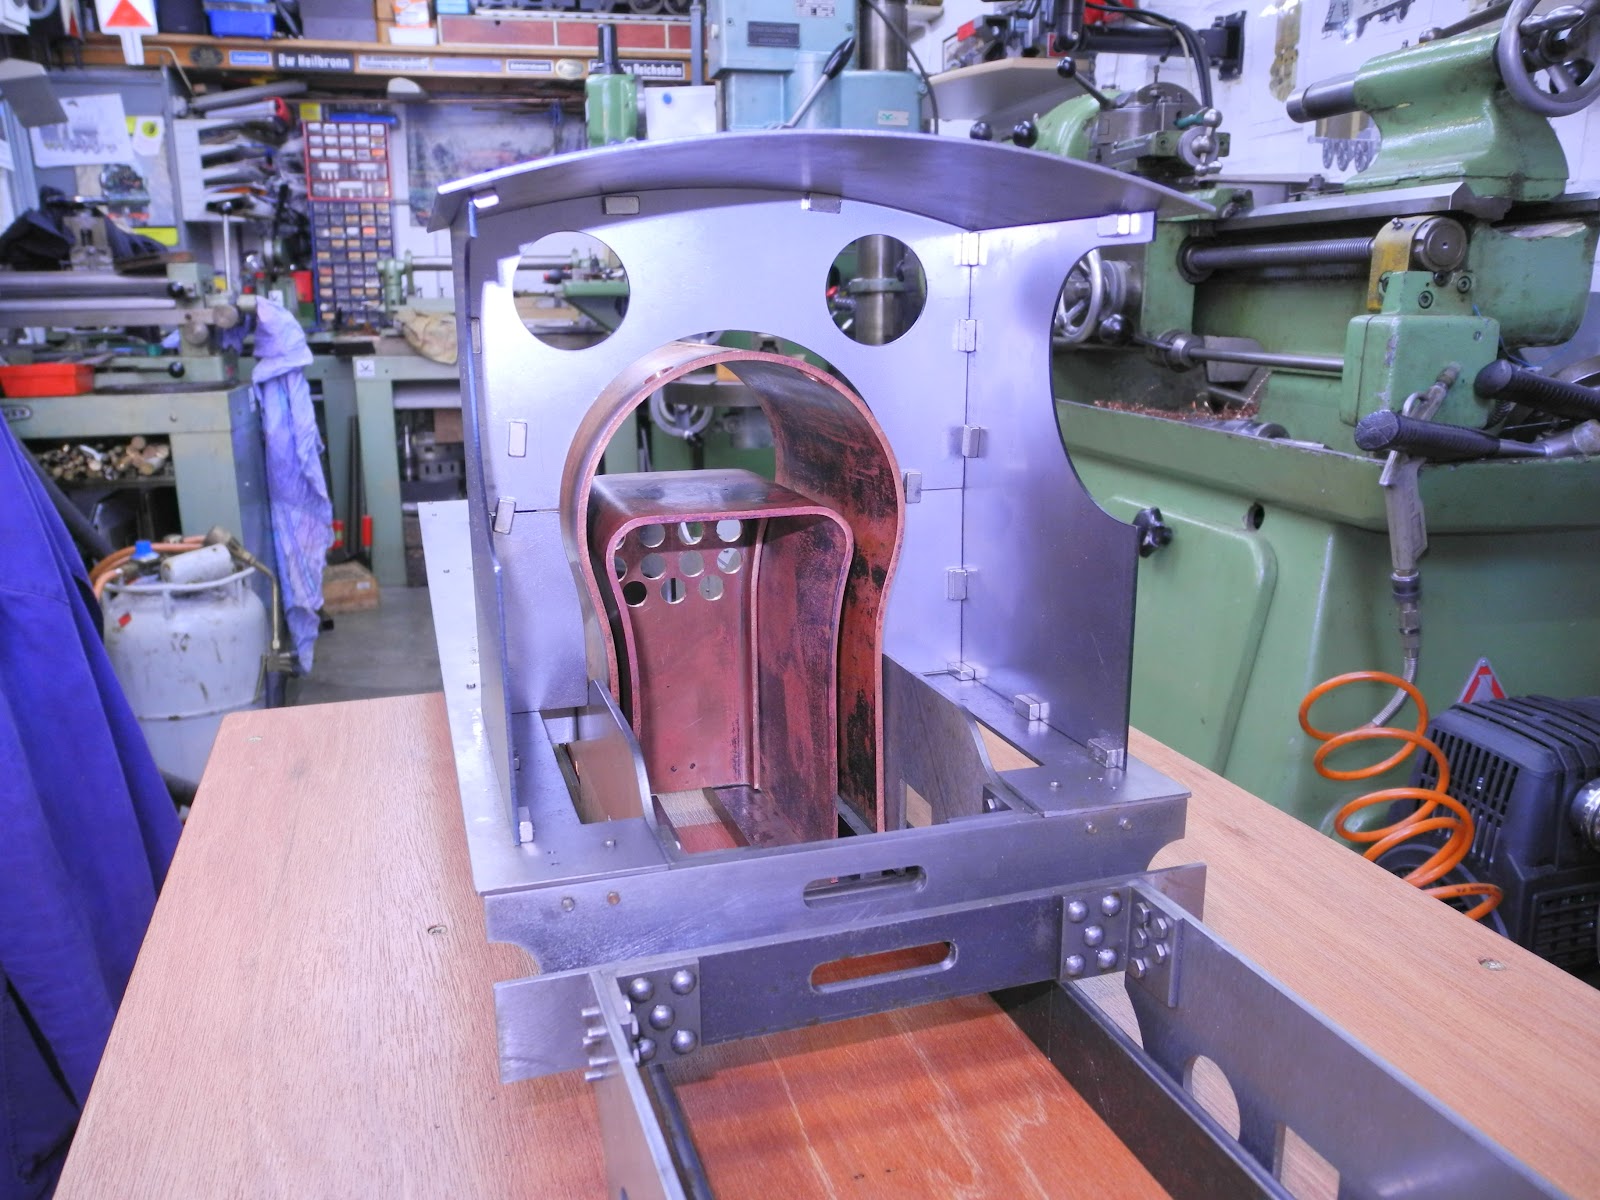
An overview of the boiler to be.

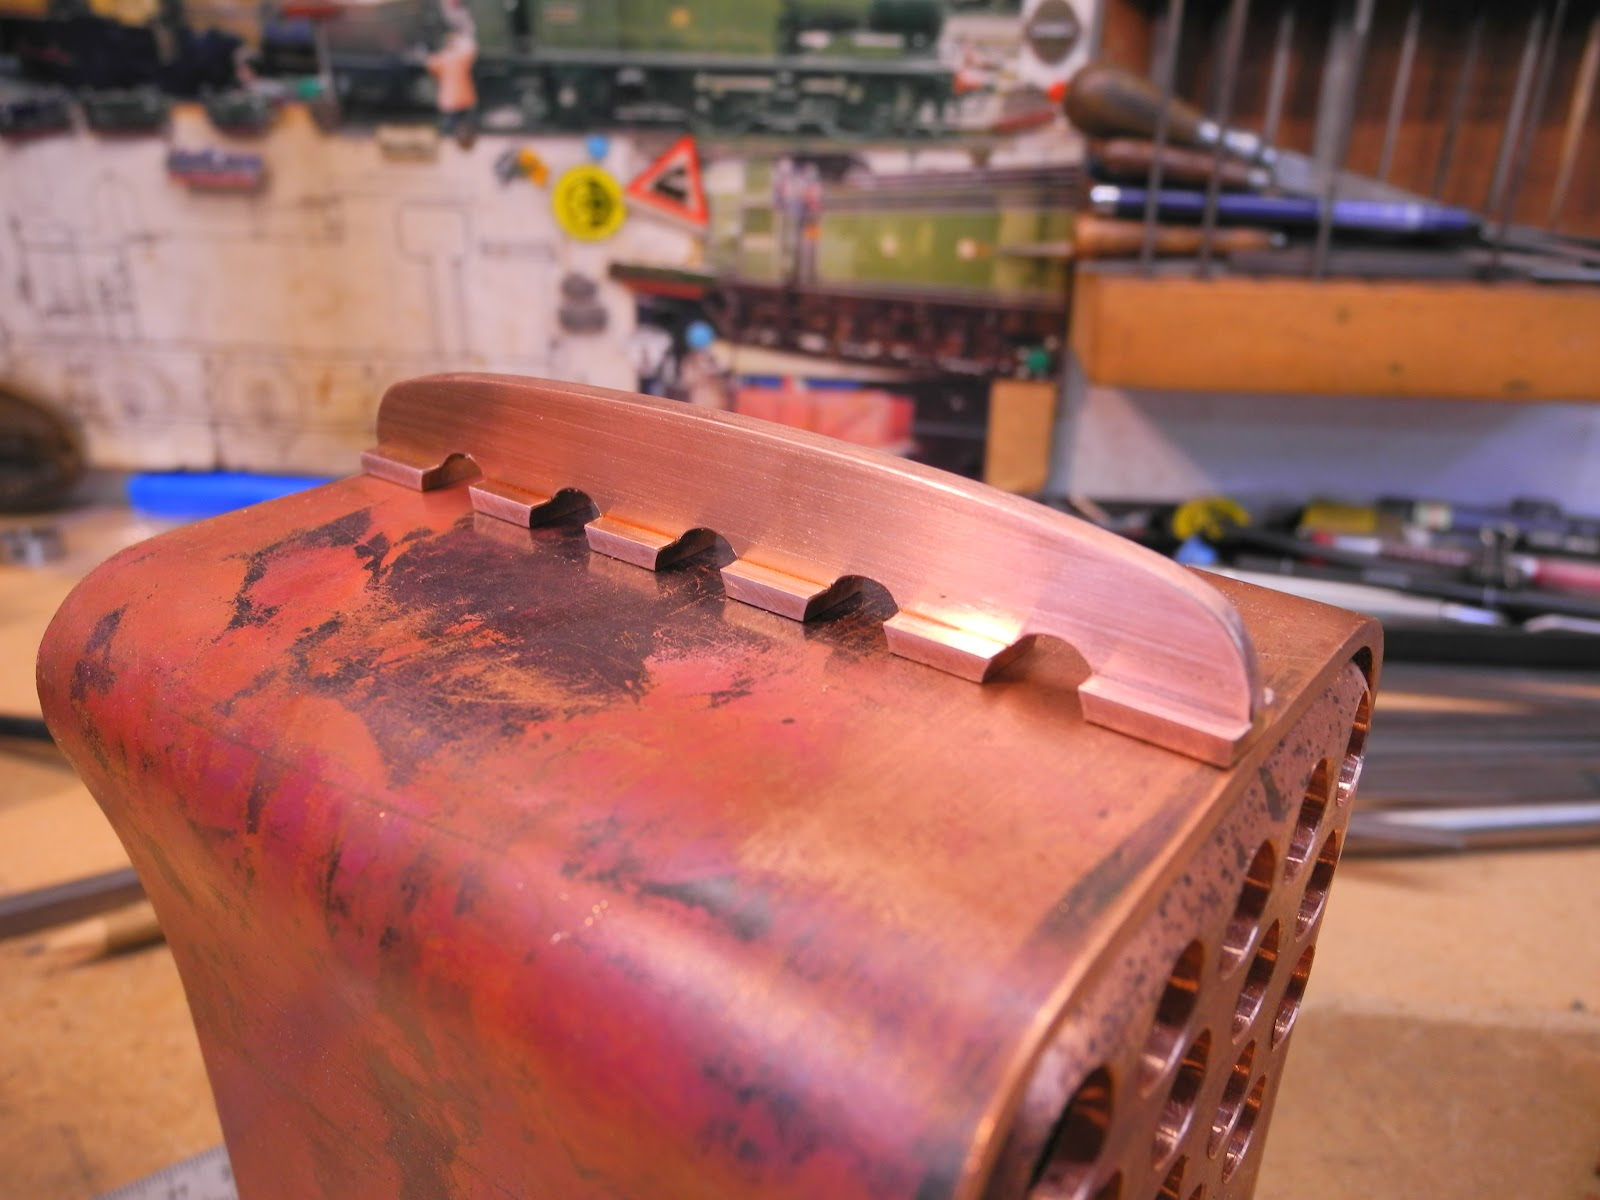
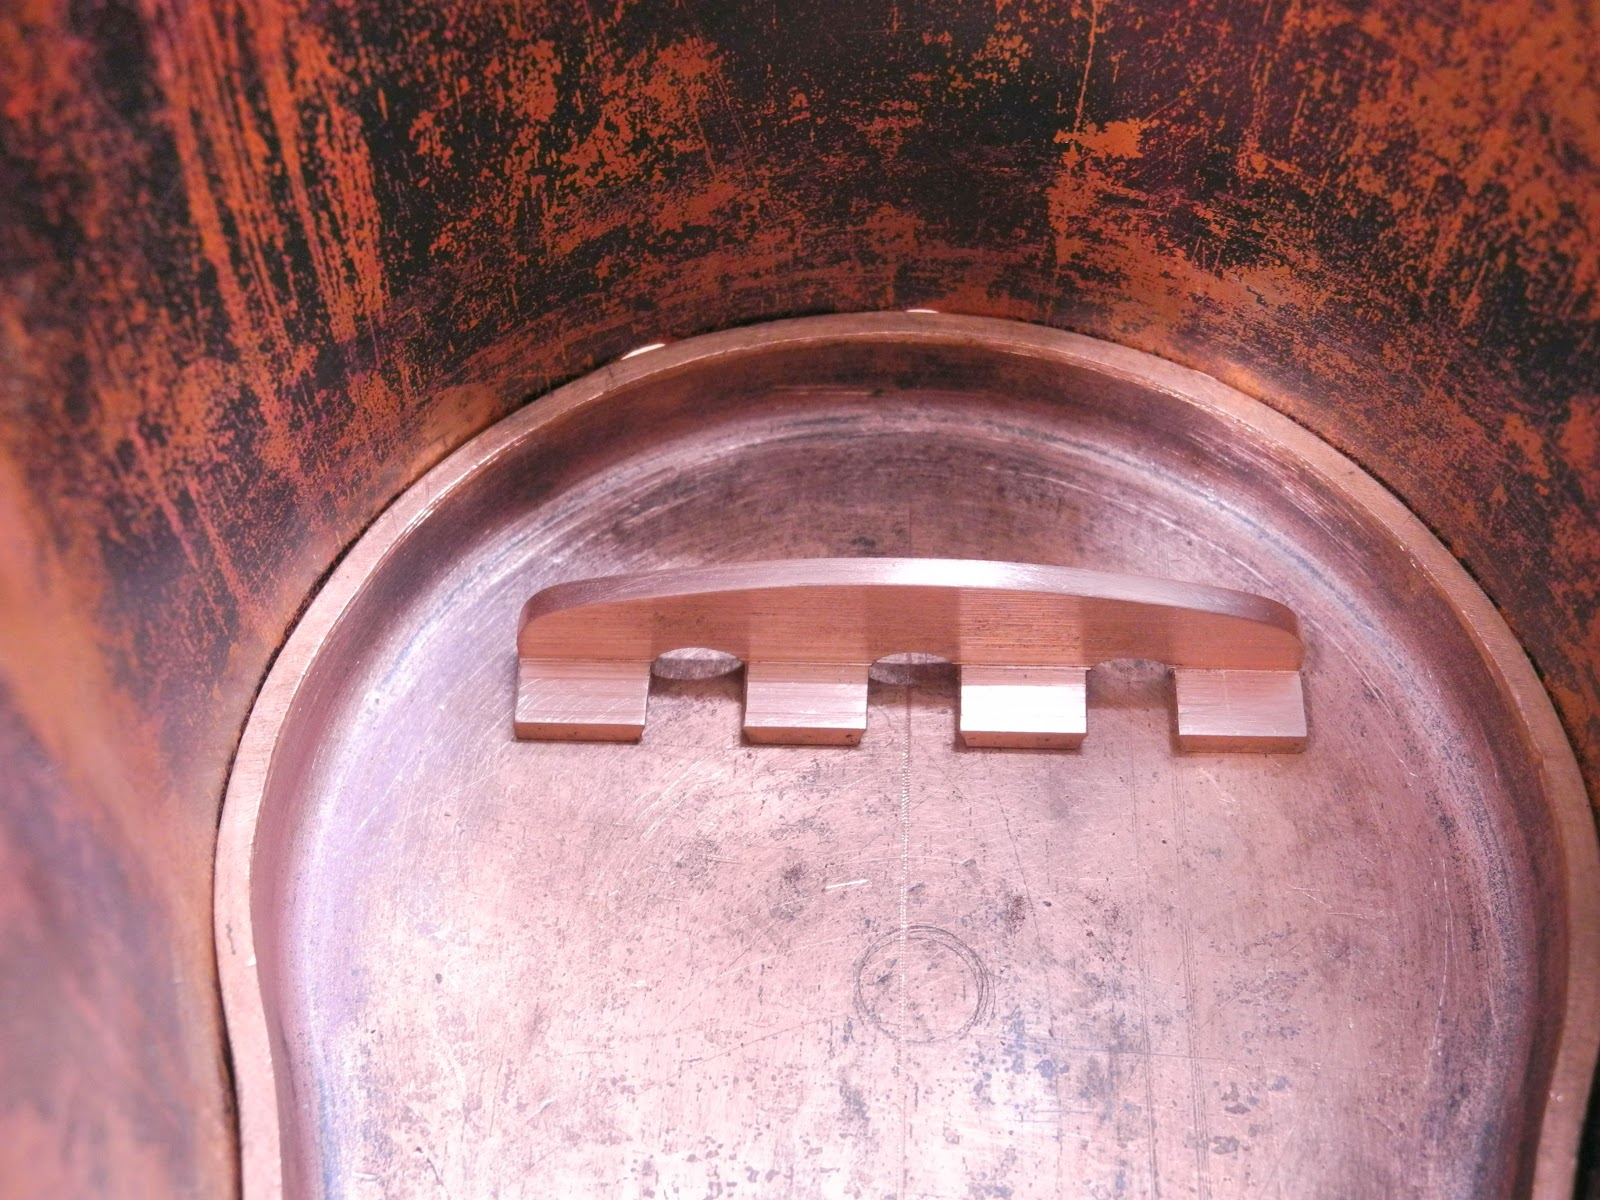
Girders

On top of the firebox, for the backhead plate and smokebox tube plate girders are needed.
These were made with the shaping machine and the water spaces were done on the milling machine.
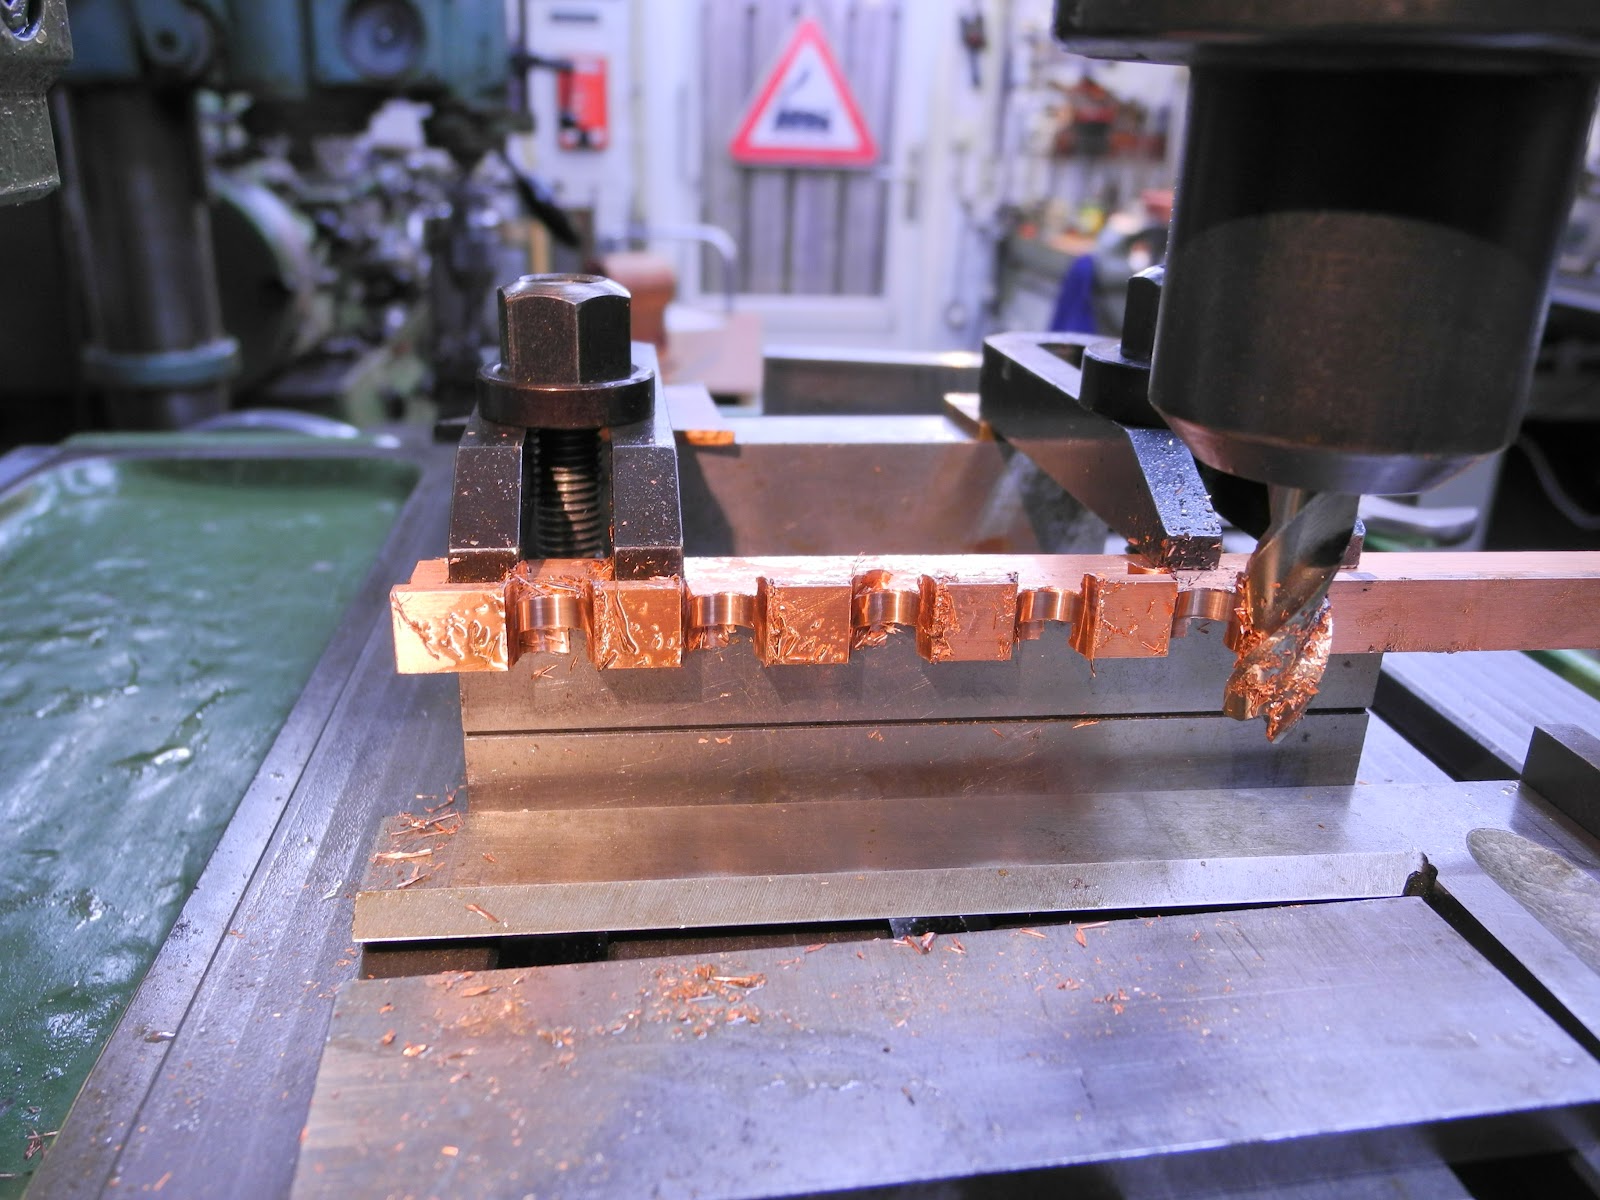
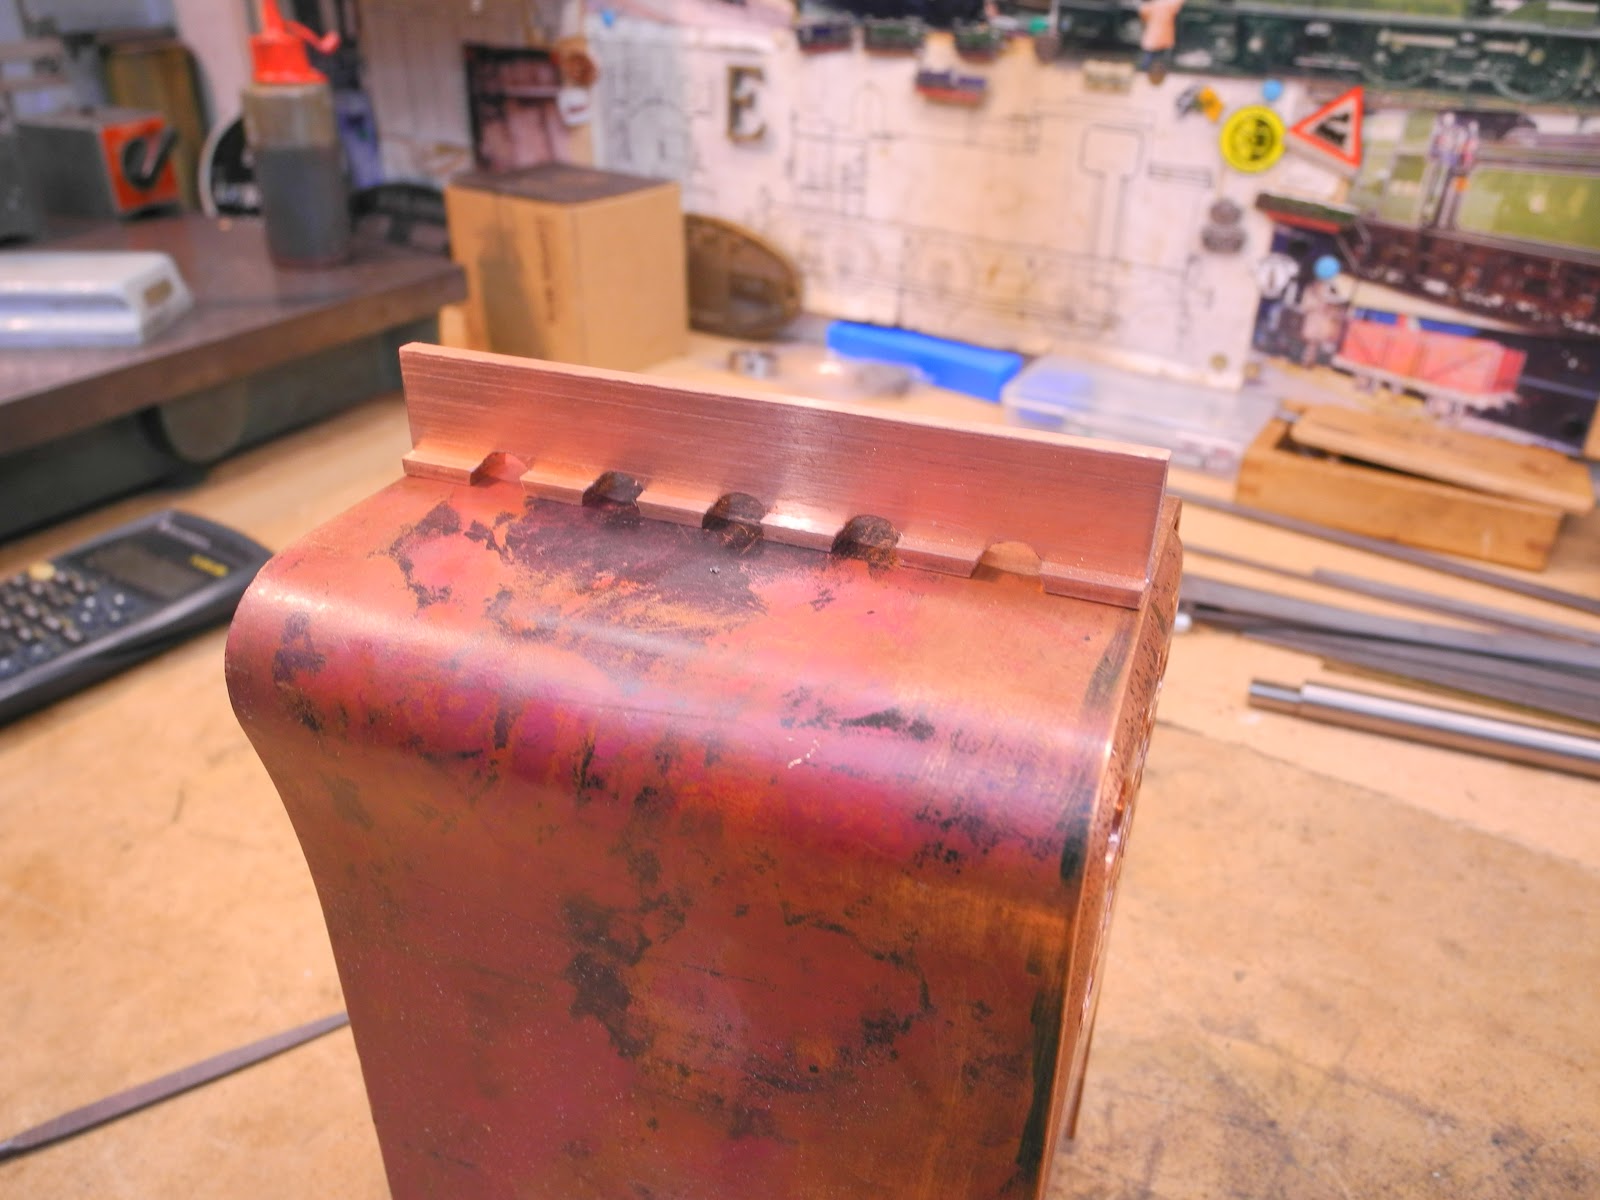

The radius was cut by hand with a hacksaw and file.


Finally turning all the bushes


Almost there to start soldering. Only two more plate girders are needed for the firebox.

The drawing/design is progressing also. A start is made with the boiler fittings, dummy leaf springs for the loco and a first general outline of the reverser.
(To see this drawing full size, open it in a new tab, or download it.)